DIY

An Easy DIY Piñata for Cinco De Mayo

I love a good DIY! And I love a good craft for a theme party! So, with Cinco De Mayo less than a week away, I thought I’d share this super easy DIY piñata craft!

DIY Pinata Craft for Cinco De Mayo

Supplies:
- Cardboard box. Use your left over Amazon boxes, cereal boxes … any sort of cardboard box
- Scissors and a box cutter, for cutting and trimming the cardboard boxes
- Marker or pen
- Glue stick
- Tape or glue gun
- Tissue Paper
- Scissors or Fringe scissors for creating the fringe out of tissue paper

IMG_4533.JPG

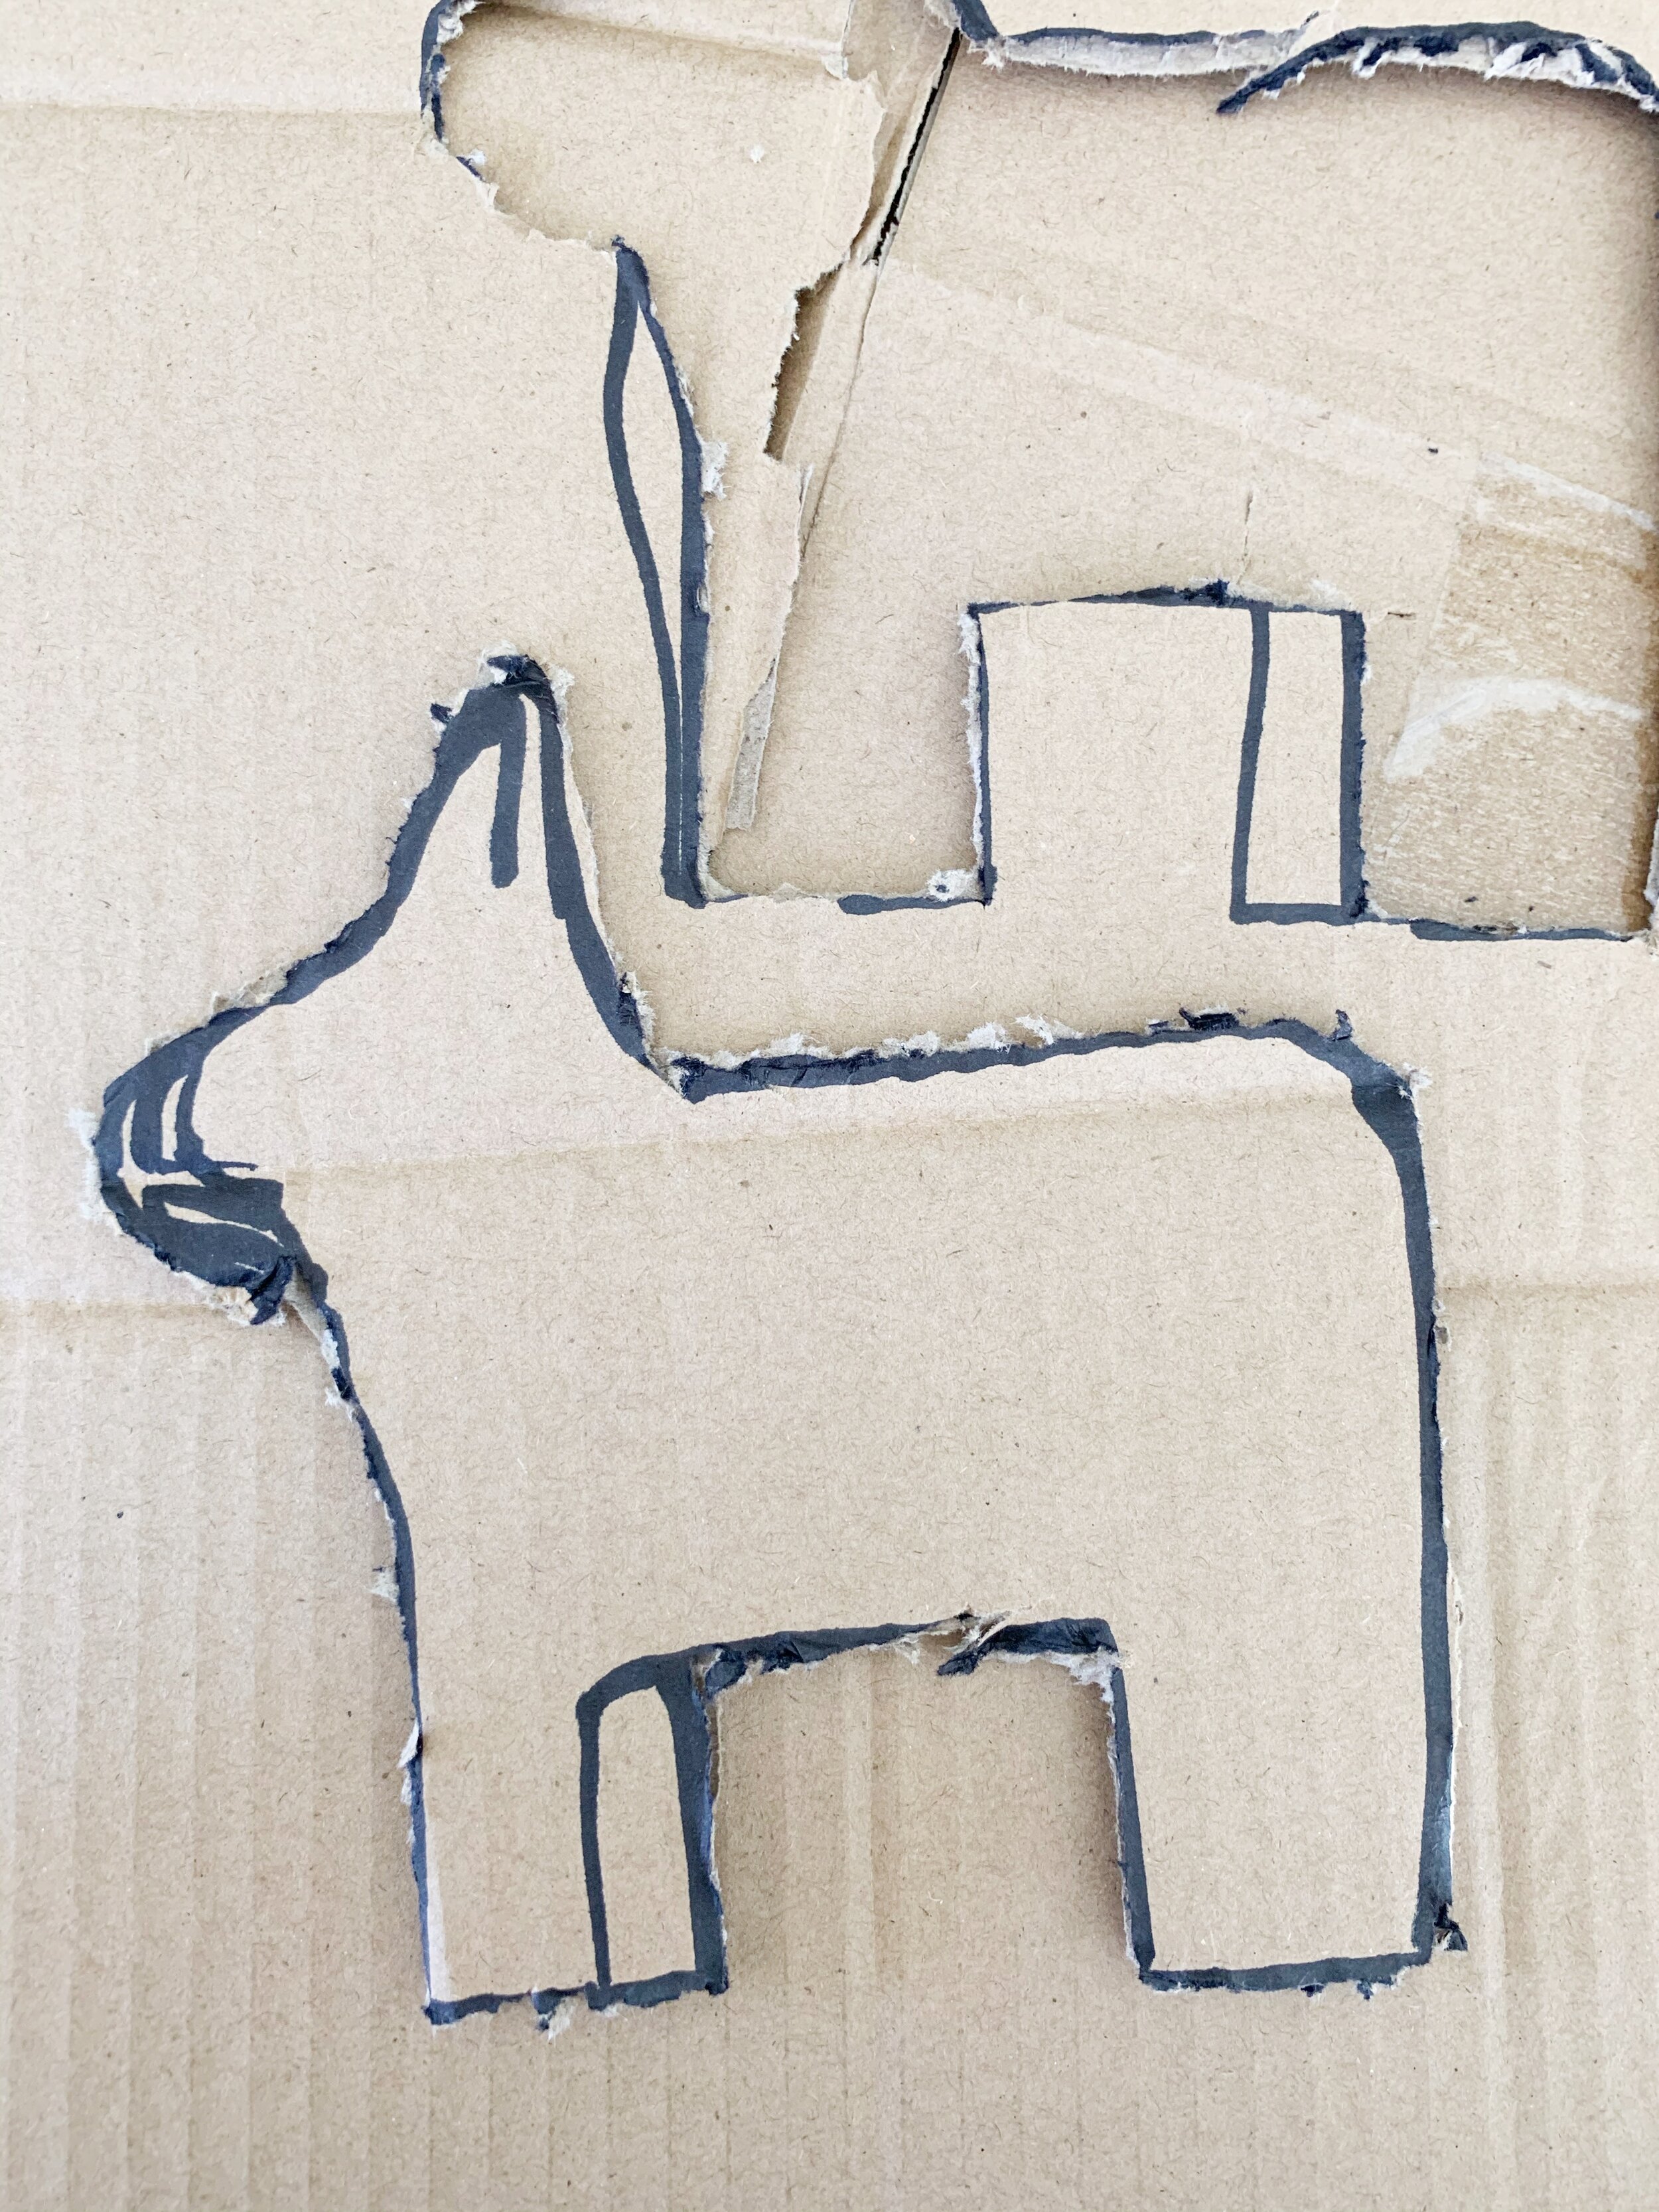
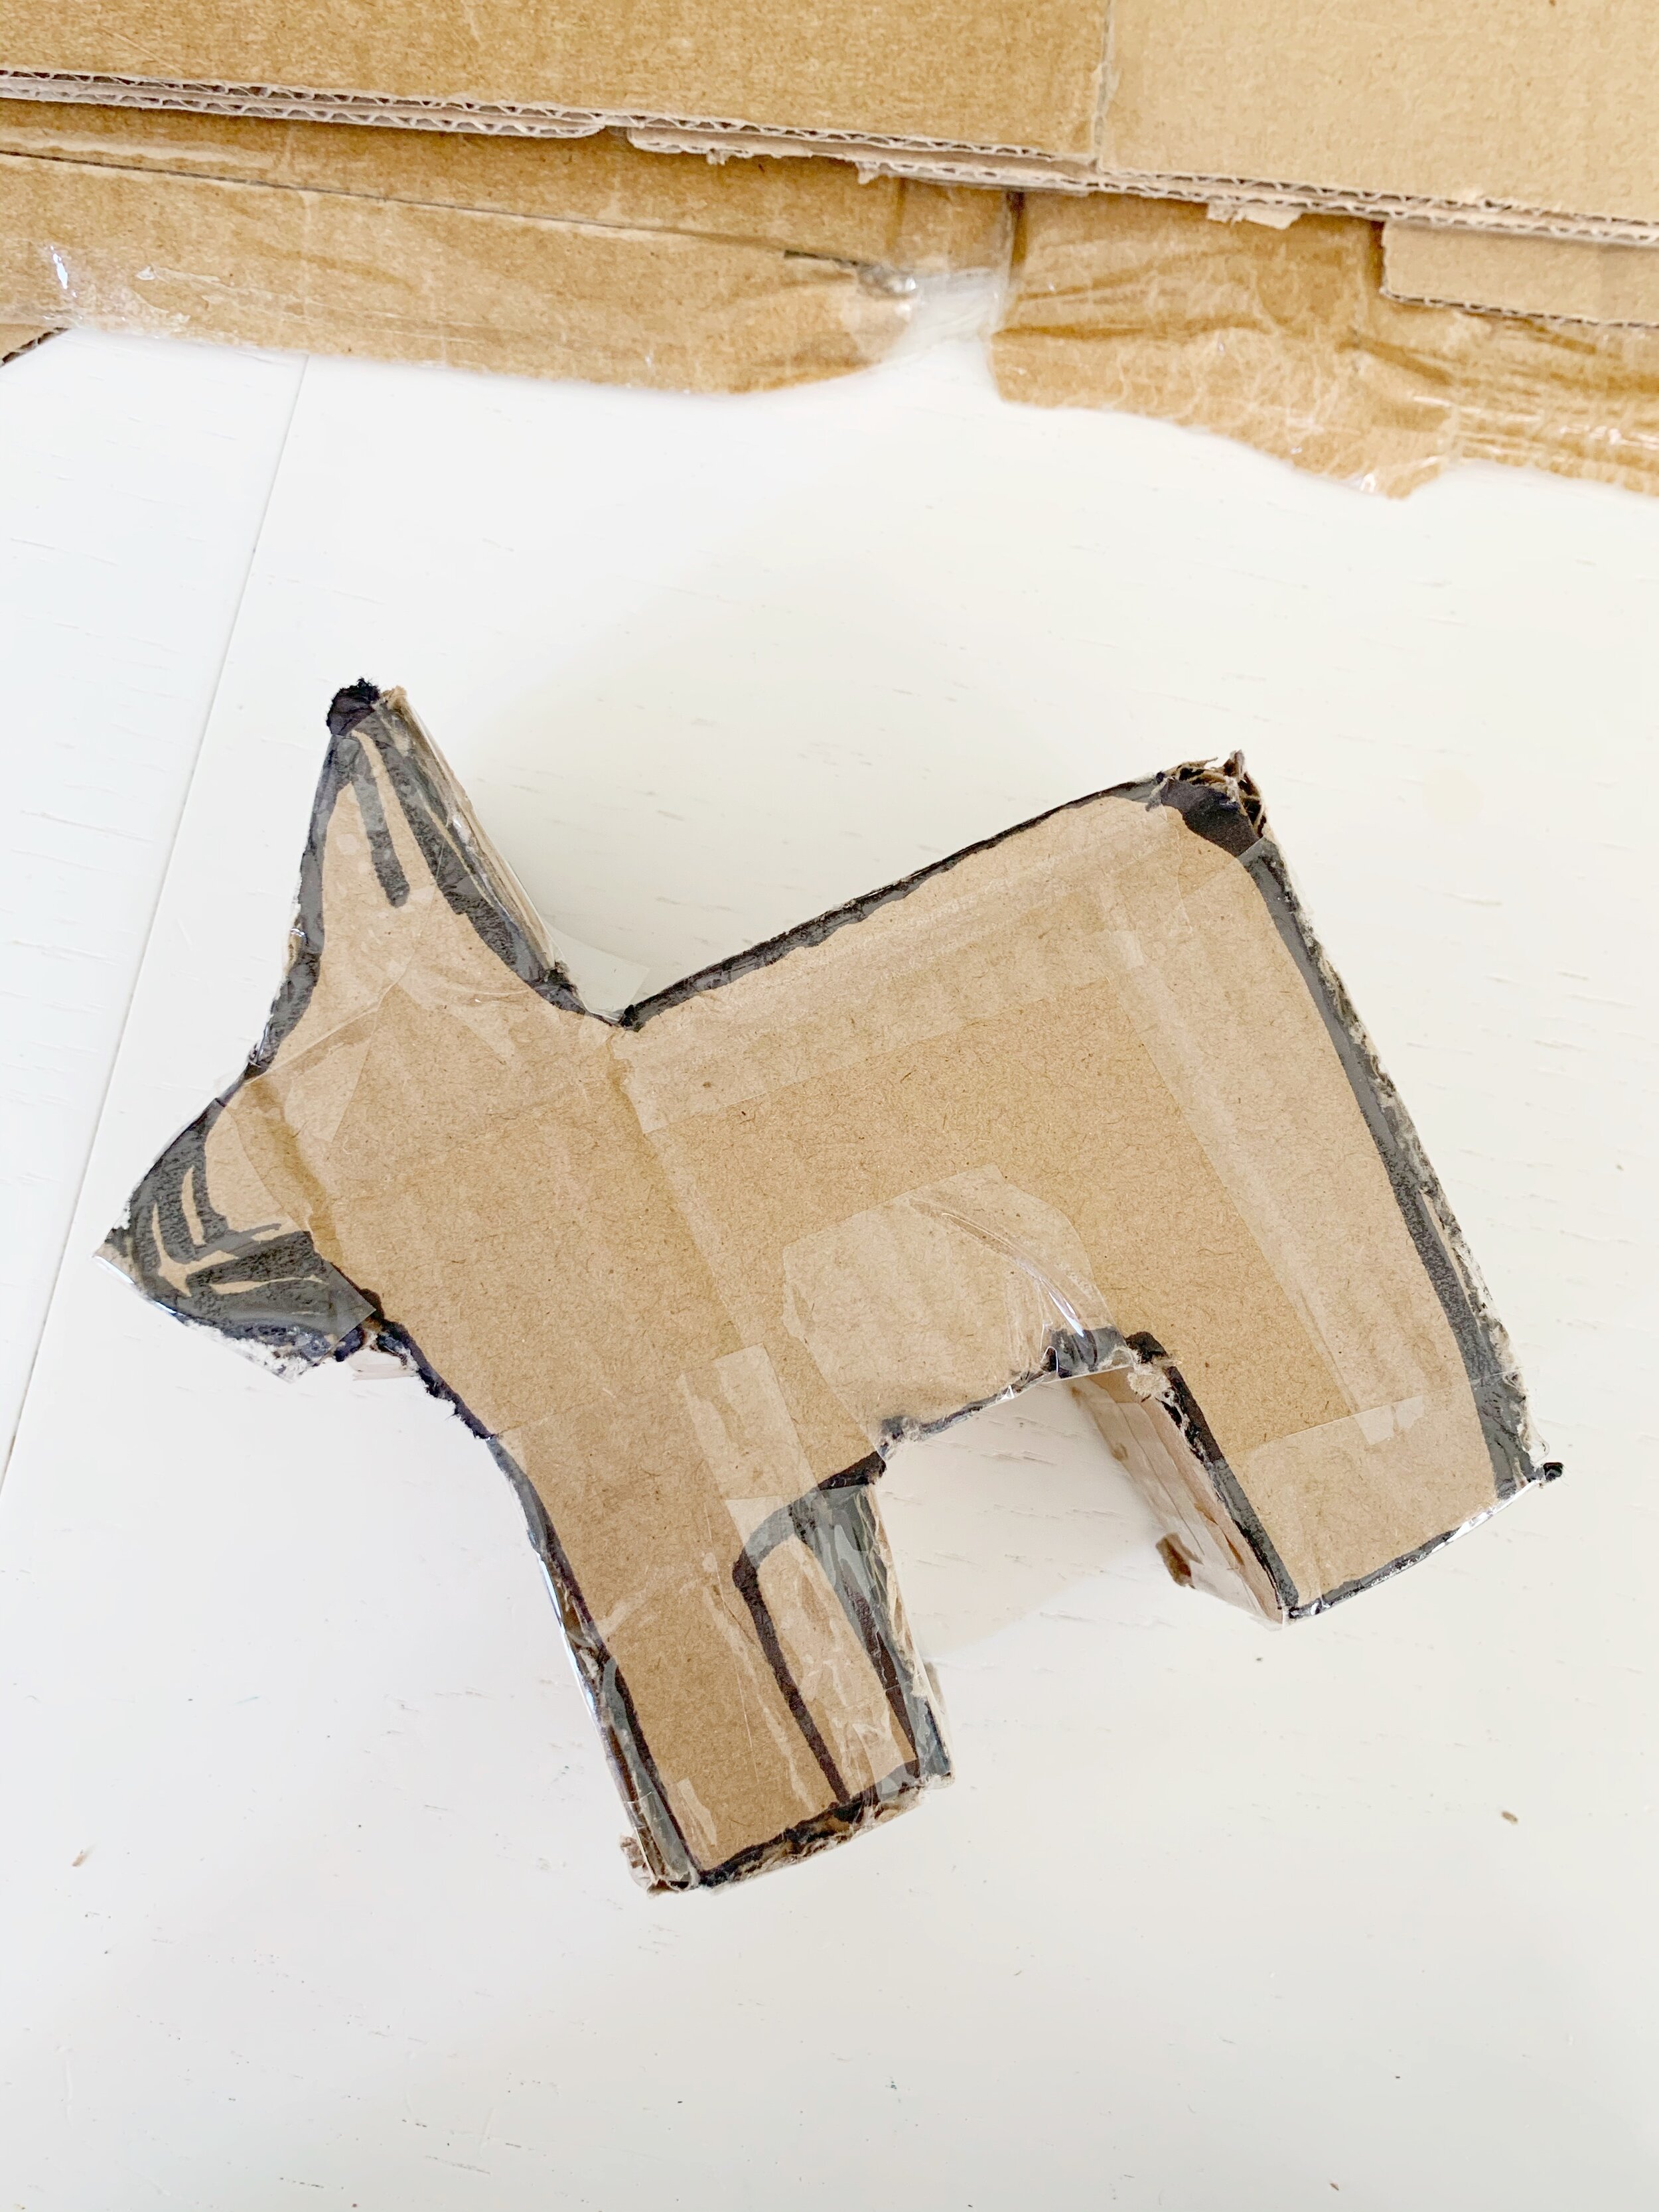
Step 1: Grab your cardboard and begin to trace your piñata shape. Don’t worry if you don’t get it perfect the first time … I didn’t! You’re creating an outline for the piñata that you’re going to cut out.

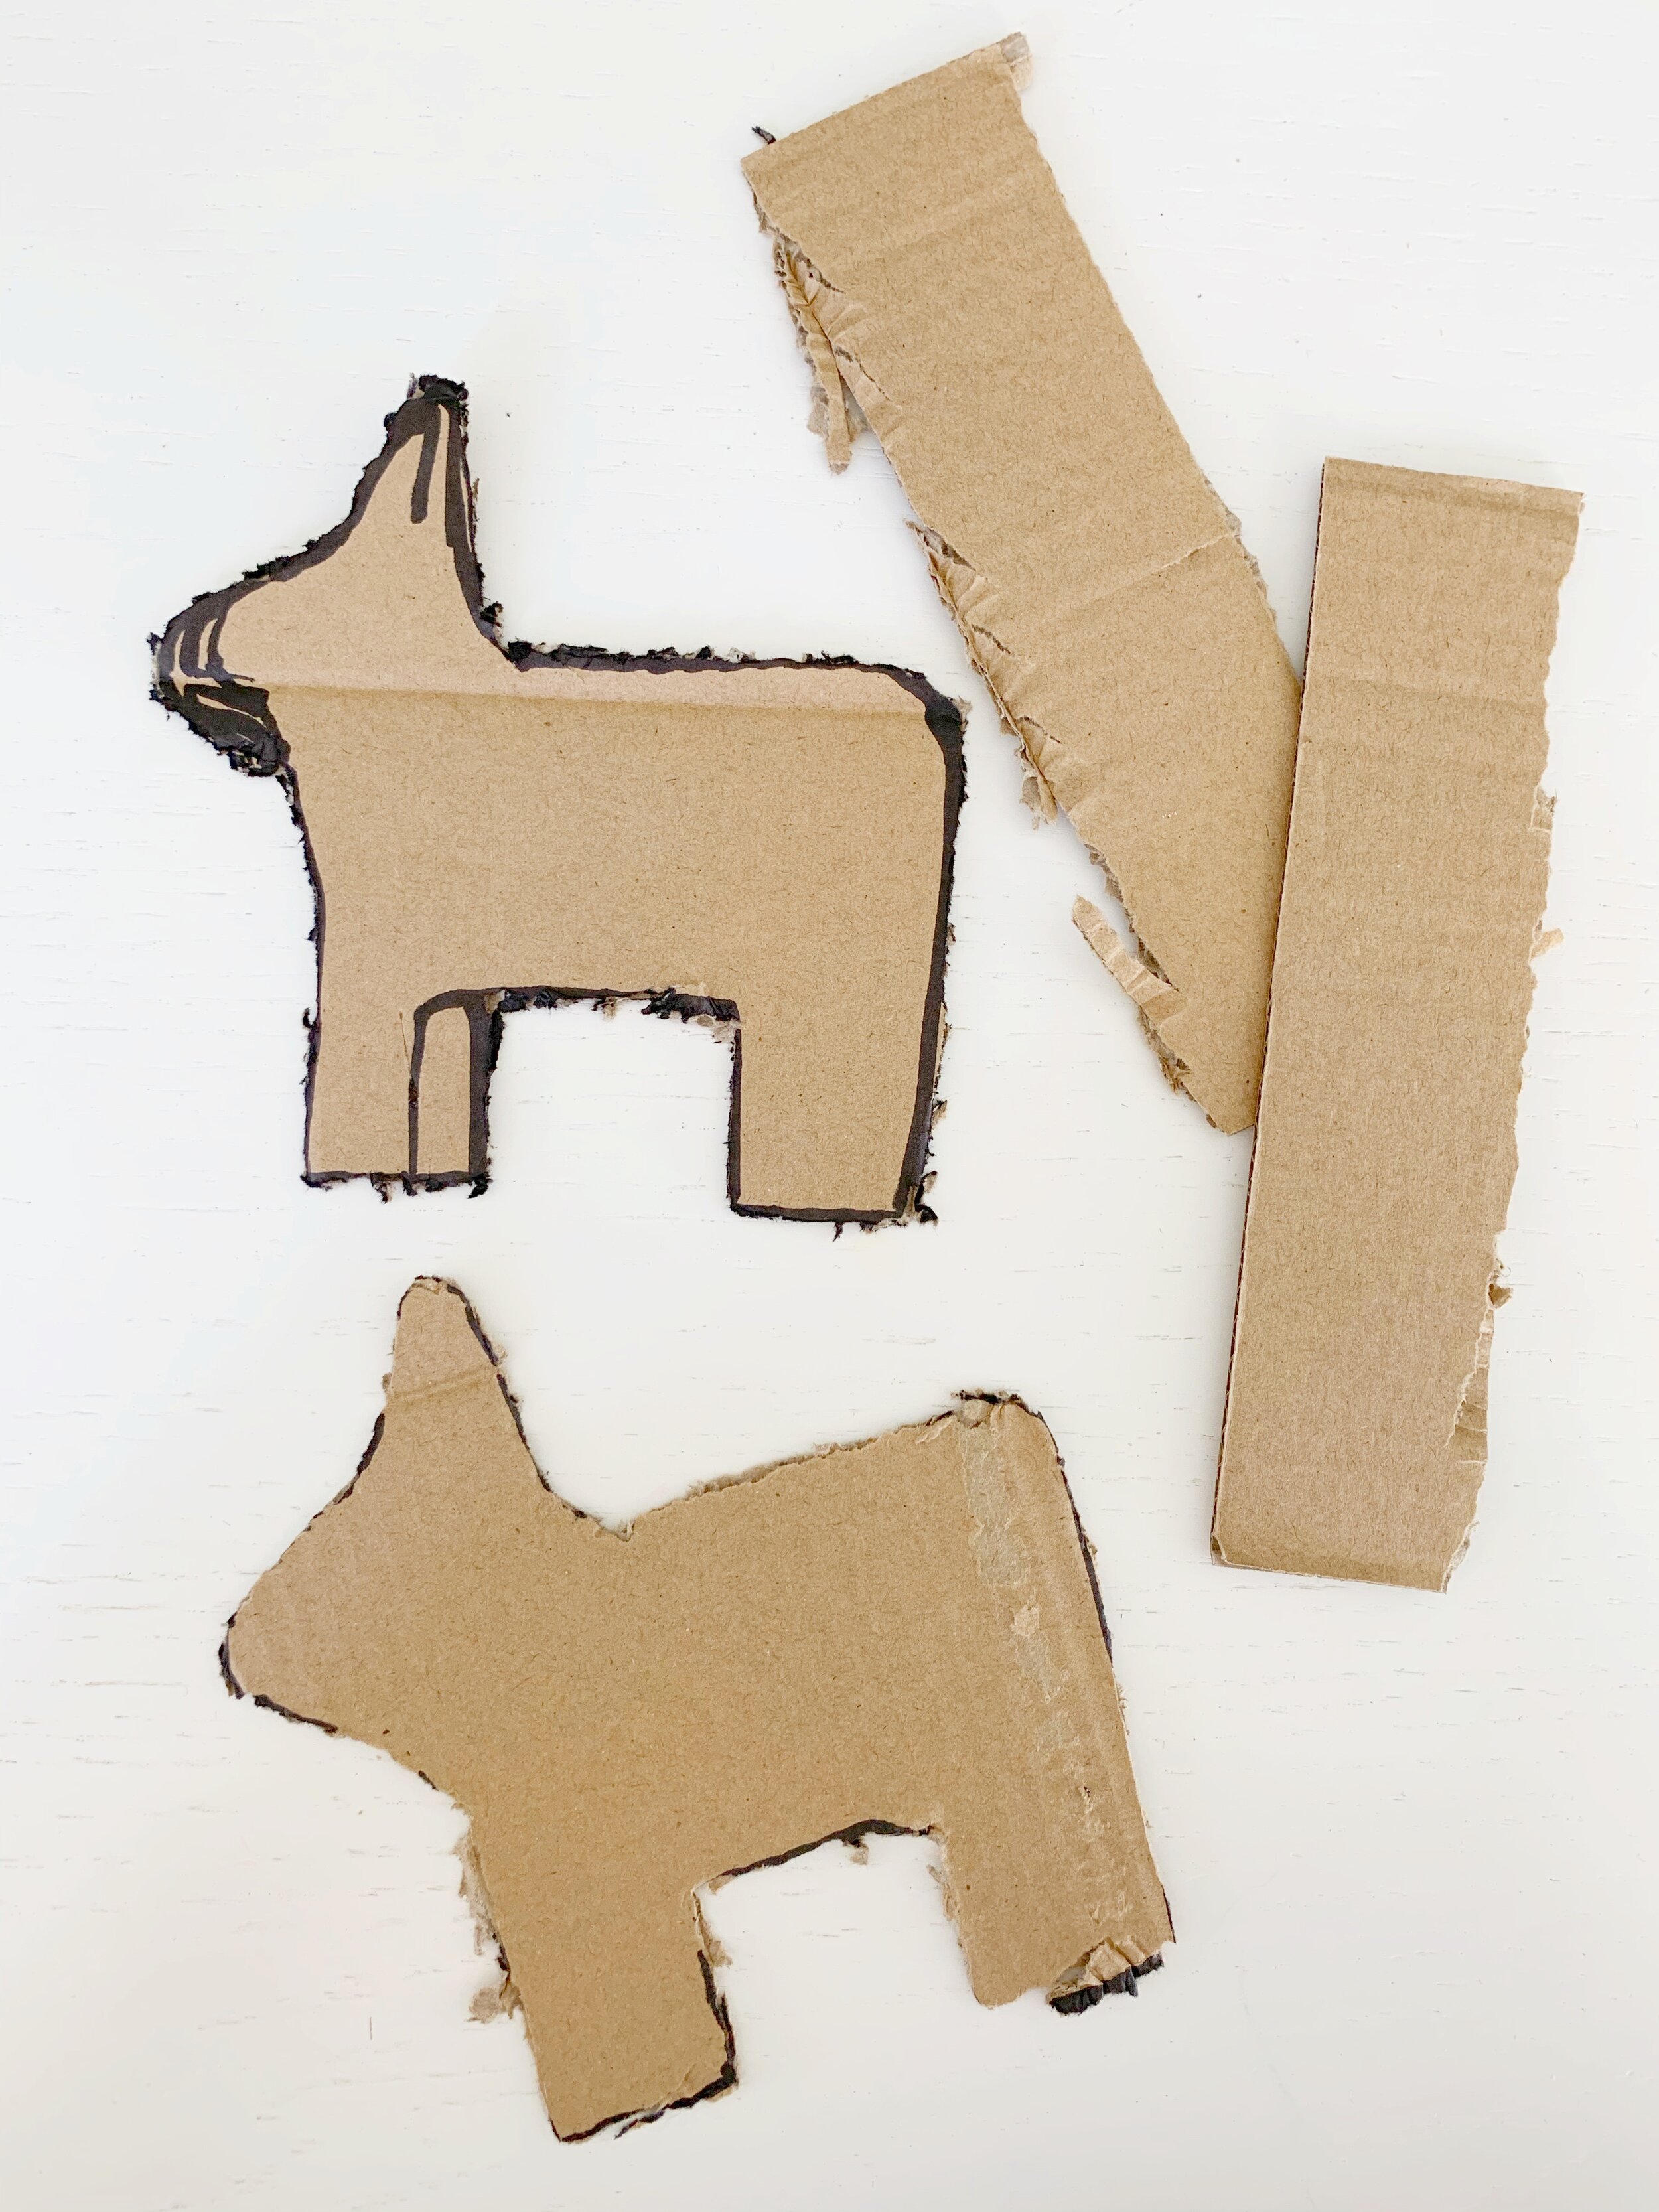
Step 2: Cut out your piñata shape using a box cutter, which I found easiest, or scissors. Then use that cut out to trace a second piñata side that you’ll cut out next.

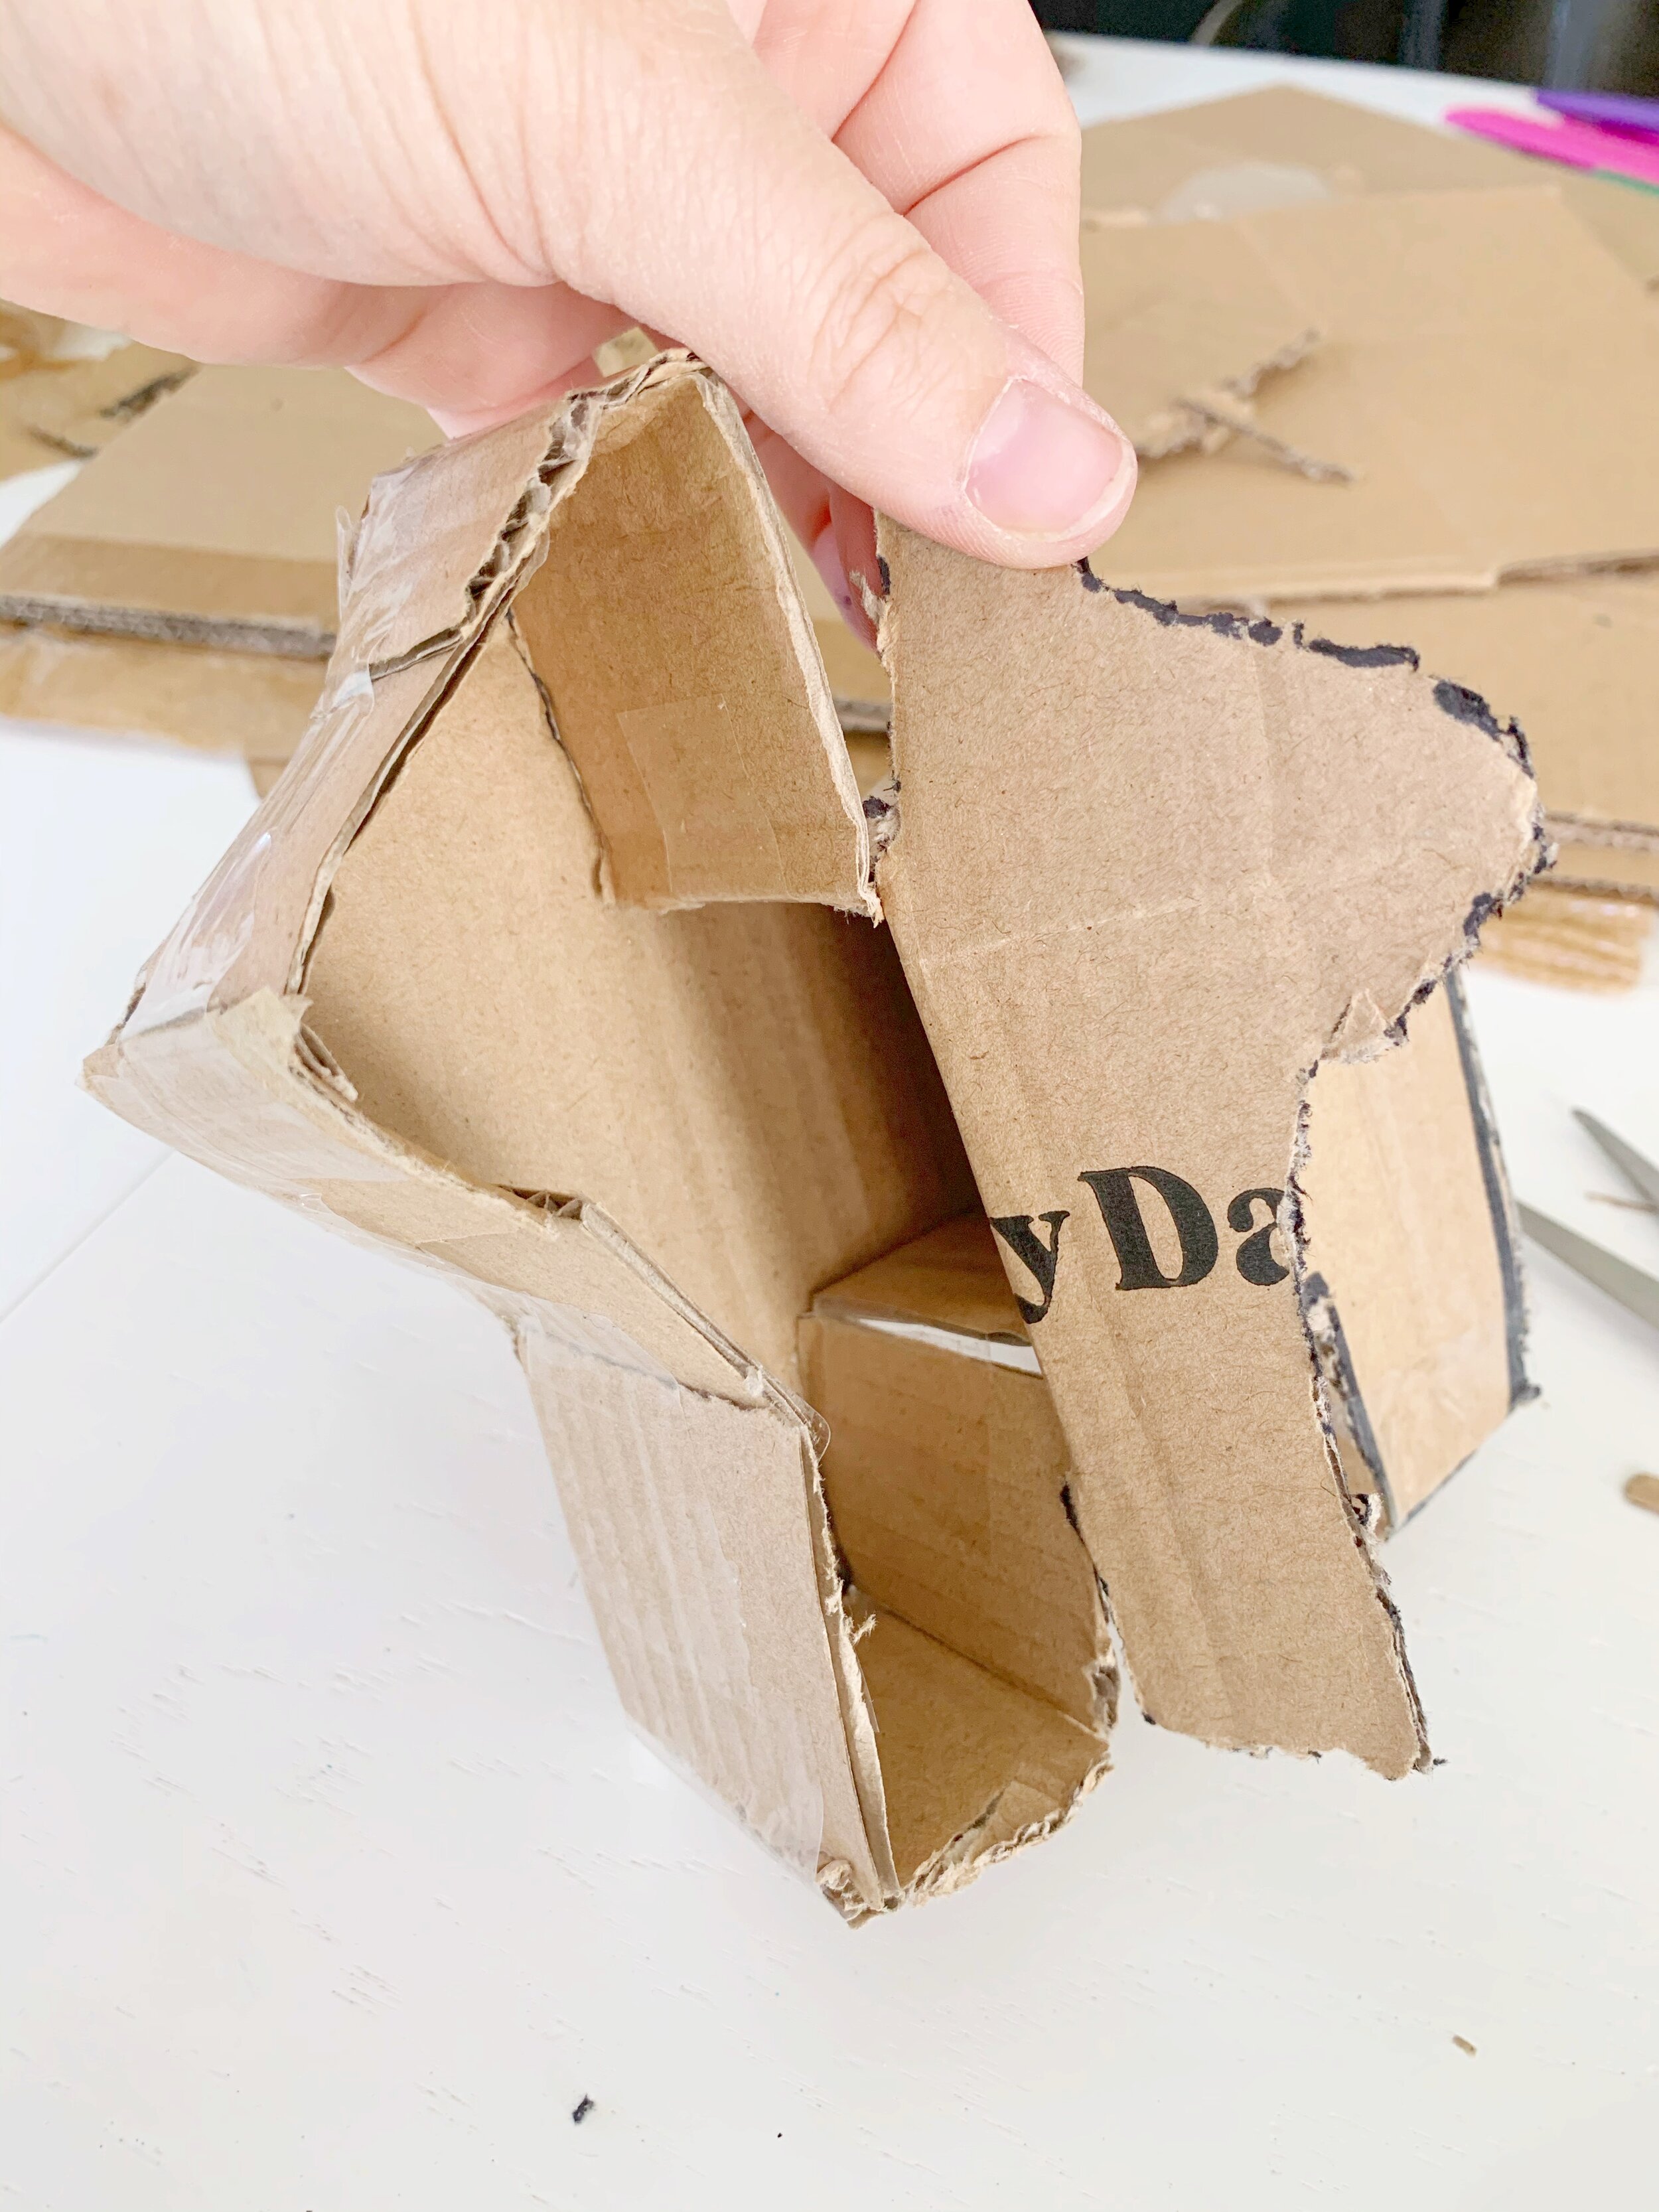
Step 3: Cut strips of cardboard. I cut up 4 strips. You’re then going to cut them in pieces as you use tape or a glue gun to secure them to one side of your piñata.

Step 4: Complete your piñata by adding the second side and secure using tape or a glue gun. Before you complete step 4, fill your piñata with candy or confetti or whatever goodies you have on hand. I did not fill my piñata today because I’m going to use it as a decor for our Cinco De Mayo celebration, and my son is going to want to play with it. But be sure to fill it now before adding the cardboard strips all the way around, if it’s your intention to break it open at some point.

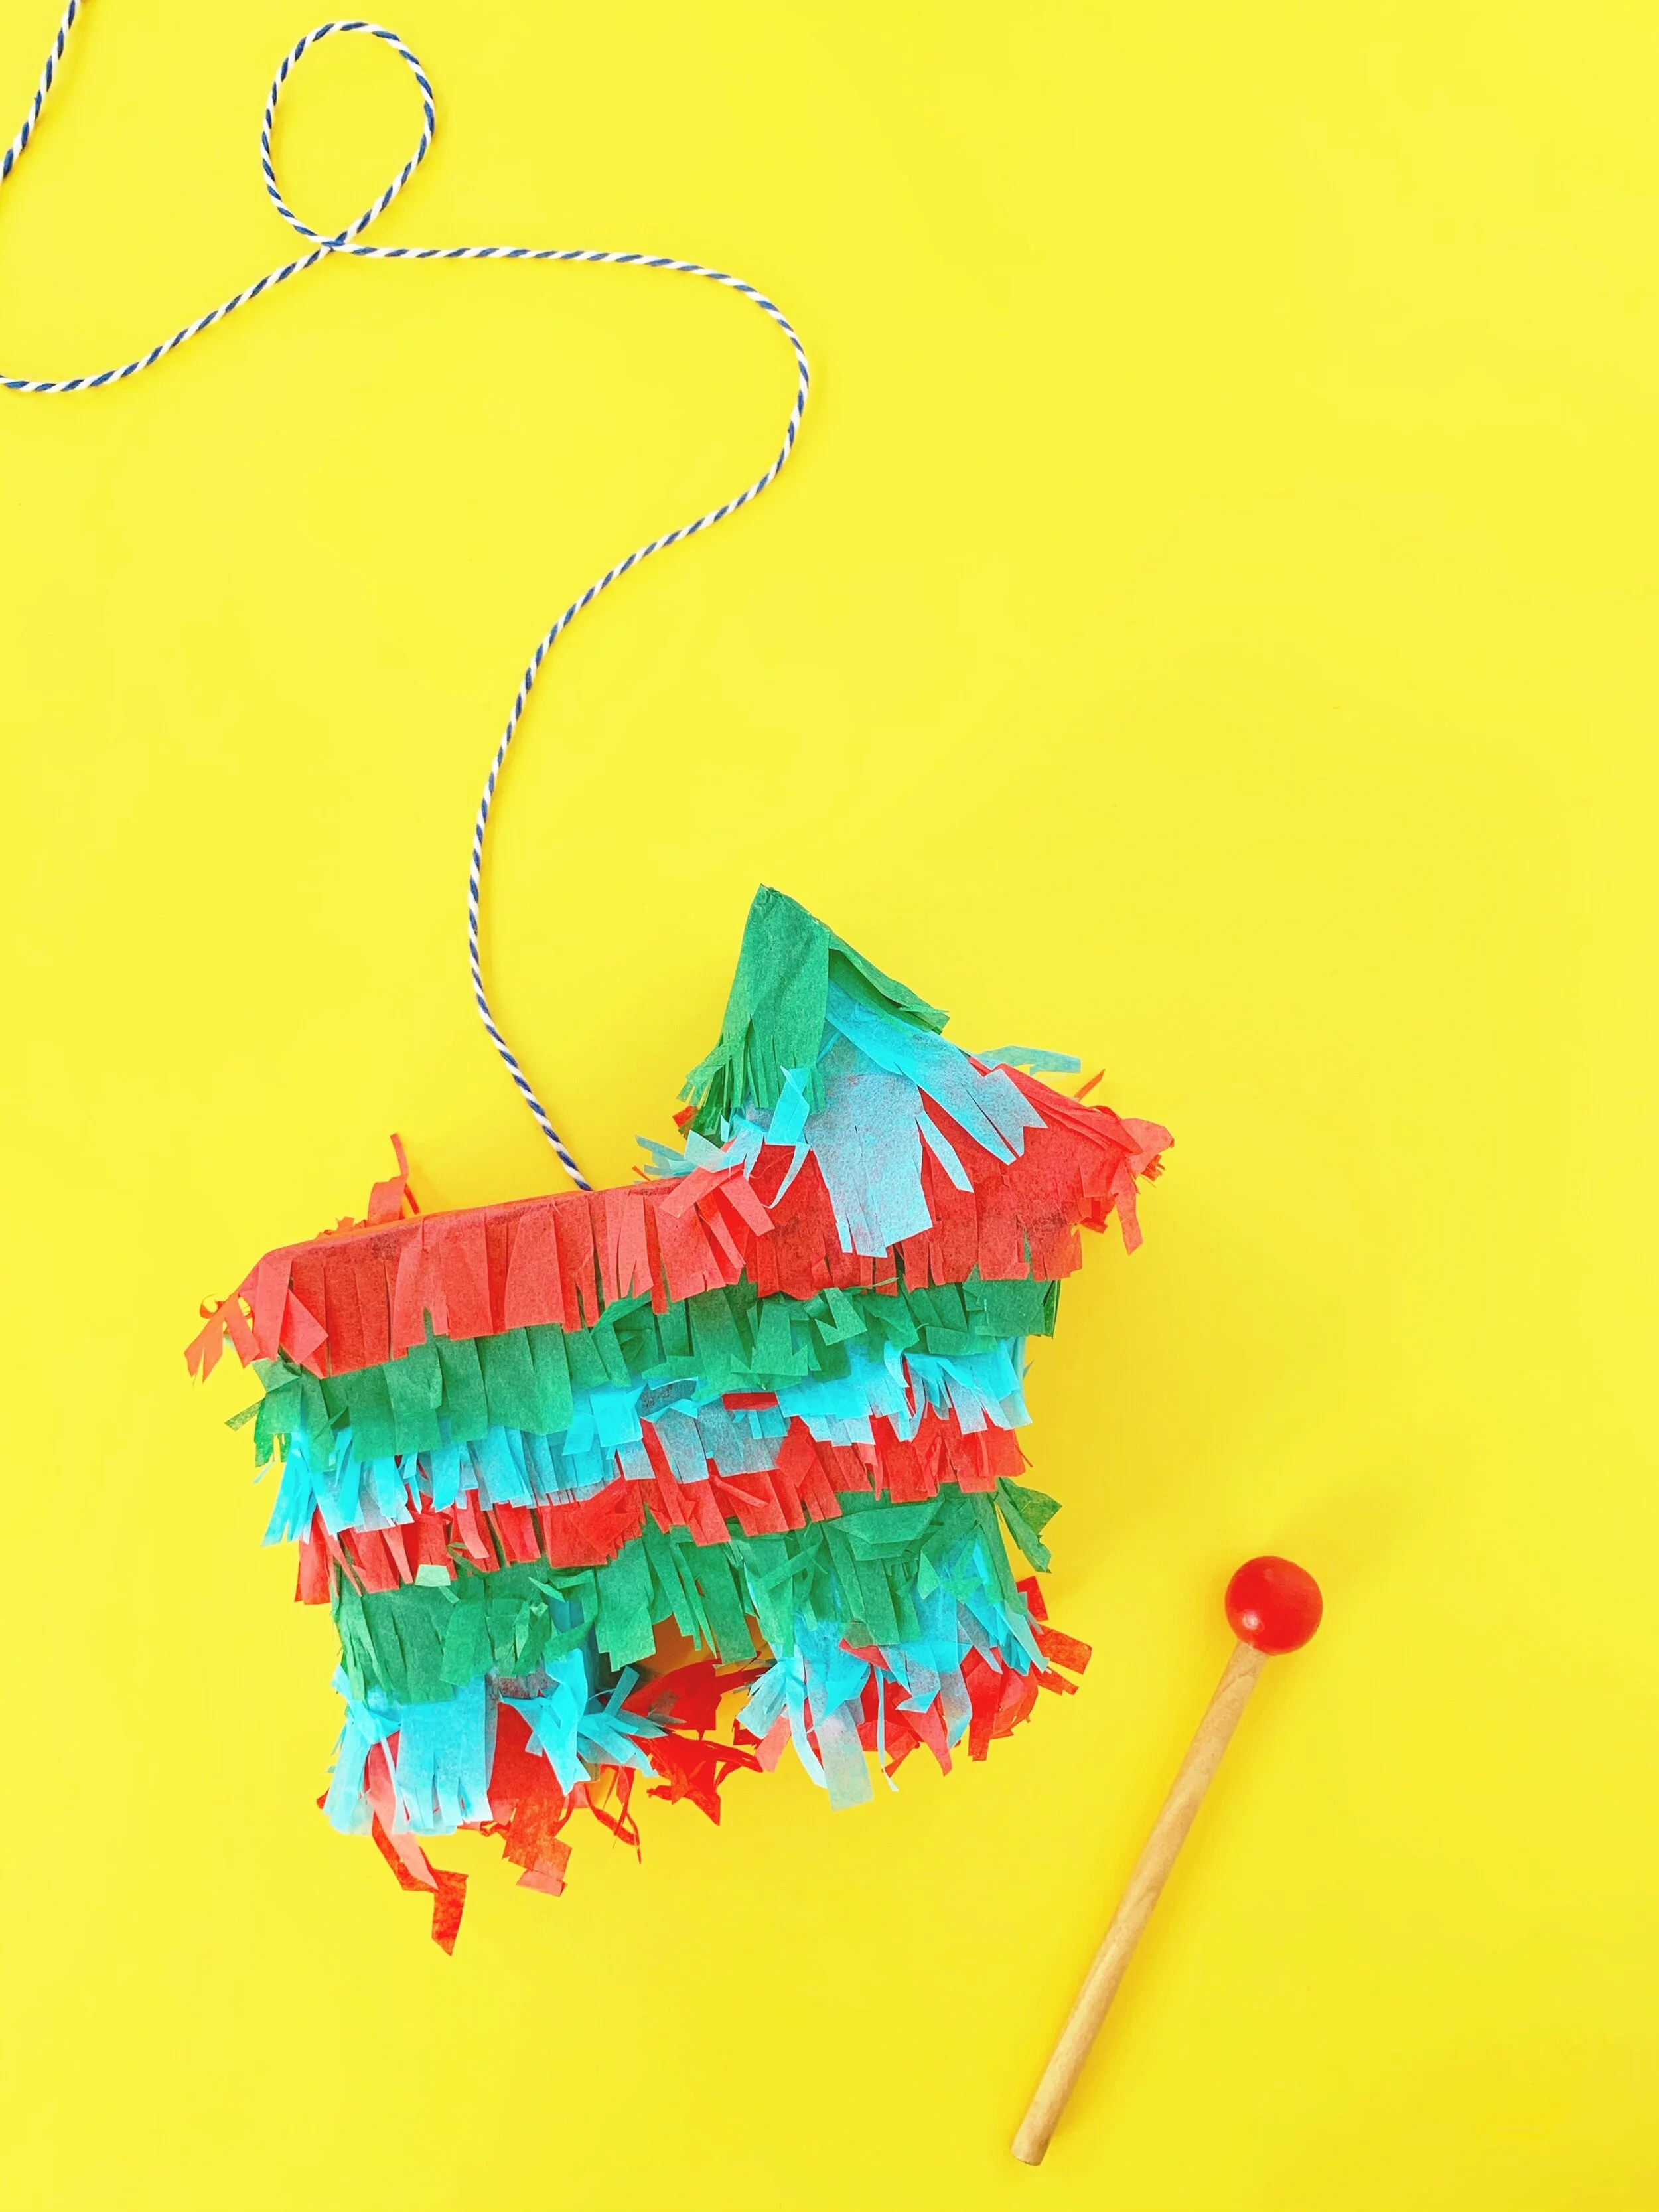
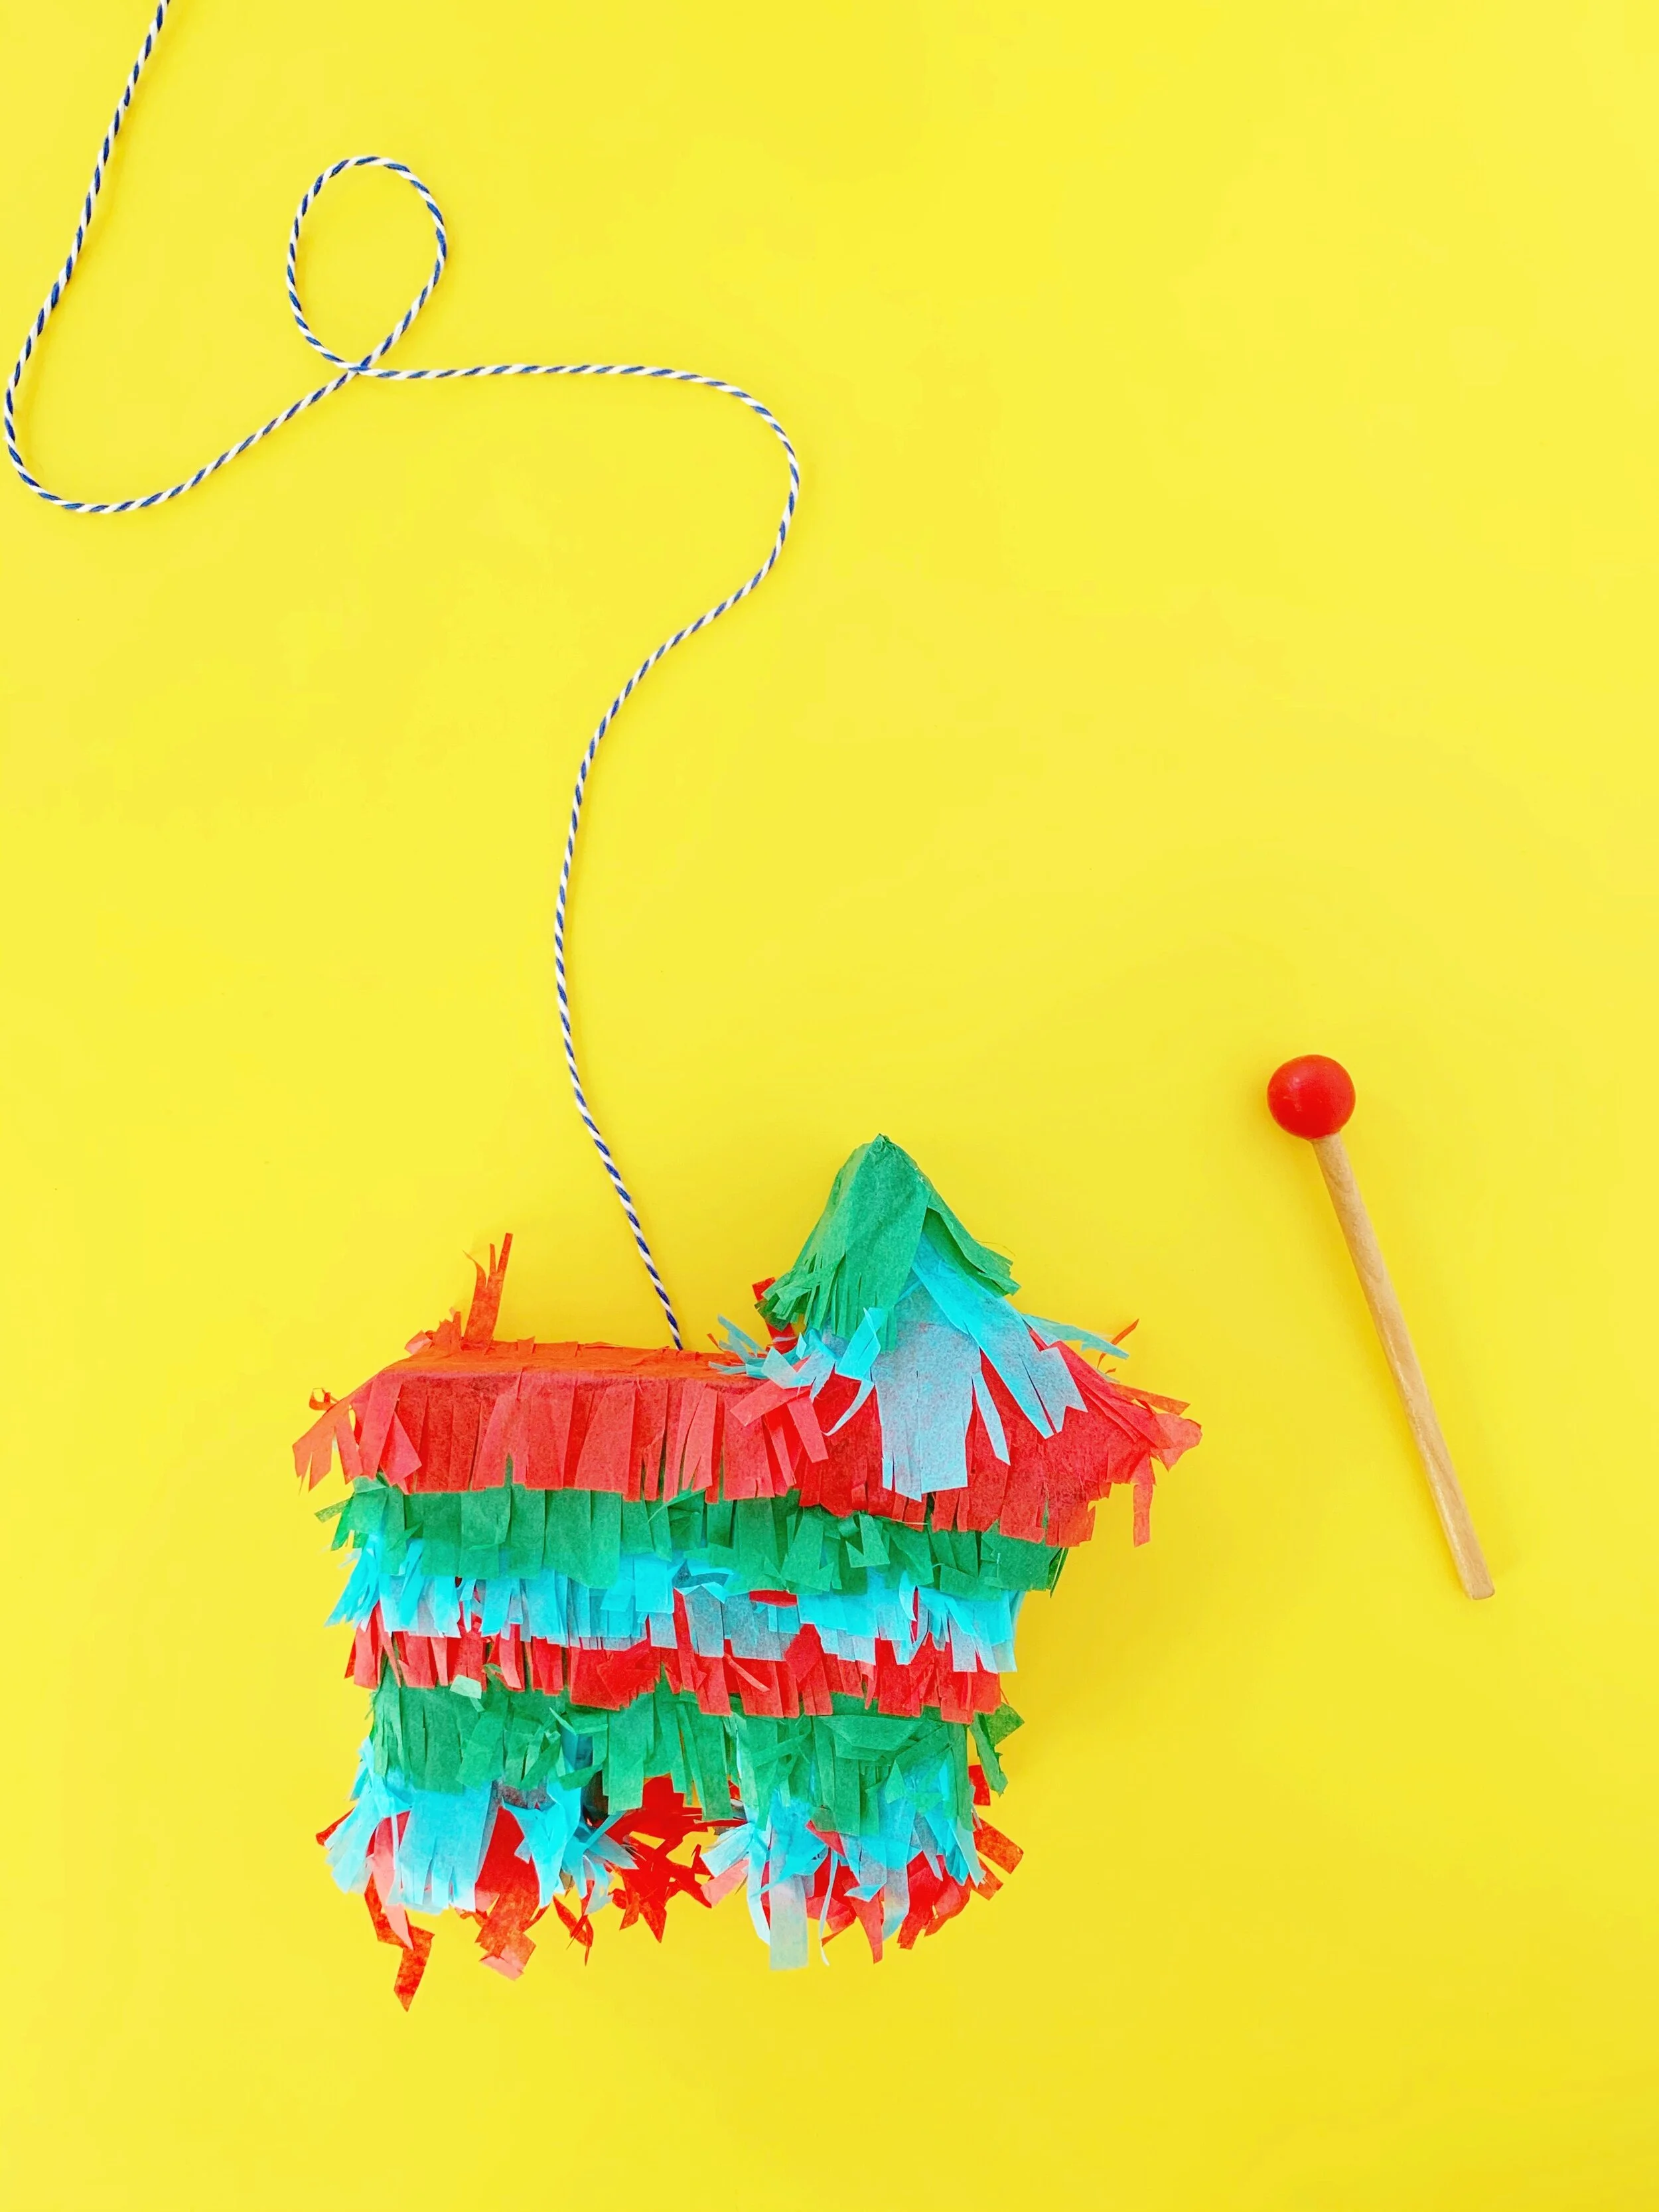
Step 5: Now that your piñata cardboard shape has been created, it’s time to add your tissue paper fringe! Cut your fringe to wrap around the piñata and secure using glue. I used a glue stick to attach the tissue paper fringe to the cardboard frame. It’s helpful to put down two layers of fringe in each strip to create more fullness. You will need to cut and paste to cover each inch of your cardboard piñata.

Step 6: Your piñata is complete! Hooray! Now if you’re using your piñata as table decor or as an accent piece, you don’t need to worry about adding a string to hang your piñata. If you wanted to use your piñata in the traditional way (i.e. hit it with a stick!), you would need to add the string to the top part of the piñata before you closed it up in step 4. If you decide to retroactively add a string to hang your piñata, no worries! Create a small hole with a tooth pick, then tie your string to the tooth pick and fish the tooth pick through the hole.

DIY Pinata For Cinco De Mayo

I hope you enjoy this craft as much as I enjoyed making it! Be sure to tag us on Instagram so that we can see how your piñata turned out!

Happy Cinco De Mayo, friends!

XO,
A

PS. If you’re hosting a fiesta, don’t forget to check out our Fiesta Party Kits and Party Sets!

It's All in the Little Details

I'll admit that I have a special appreciation and love of the little details.  After all, it's the little details that make life special, and the special moments in life personal.  With each new wedding design, my goal (always) is to make those little details, that are so important to brides and grooms, come to life! I've had the opportunity to create a lot of things over the years for brides and grooms. And, after finishing some watercolor creations for a wedding at Daniel Stowe, a Chuppah for two spring weddings, and lots and lots of escort cards, programs, and favor tags, I thought "I really need to gather up all these little projects and share them!" So, without further adieu - here are some of the things I've created for weddings so far in 2014 that I wanted to share! A few have been complete surprises, and revealing those surprises to my sweet clients brings me so much joy!  Just a warning: the photo quality is not that great - actually it's down right awful! - and is courtesy of my trusty iPhone. (Thank God for real photographers!) So, please excuse my photos... I'll just stick with wedding planning and leave the photography to the pro's! 

Custom table runners for Katie & Eric's Mint Museum Uptown wedding

IMG_3733_20140405_181018-e1400634848673.jpg
IMG_3642_20140405_173823-e1400634904406.jpg
IMG_3709_20140405_175919.jpg

Prop pillows and ring bearer pillows for Katie & Eric's Mint Museum Uptown wedding

IMG_3438_20140403_092411.jpg
Katie-Eric-Ceremony-22.jpg

Sashes for the draping to match the runners and pillows for Katie & Eric's Mint Museum Uptown wedding

IMG_3711_20140405_180710.jpg

Floating frame display for Katie & Eric's Mint Museum Uptown wedding

IMG_3701_20140405_175628.jpg
IMG_3657_20140405_174145-e1400634877604.jpg

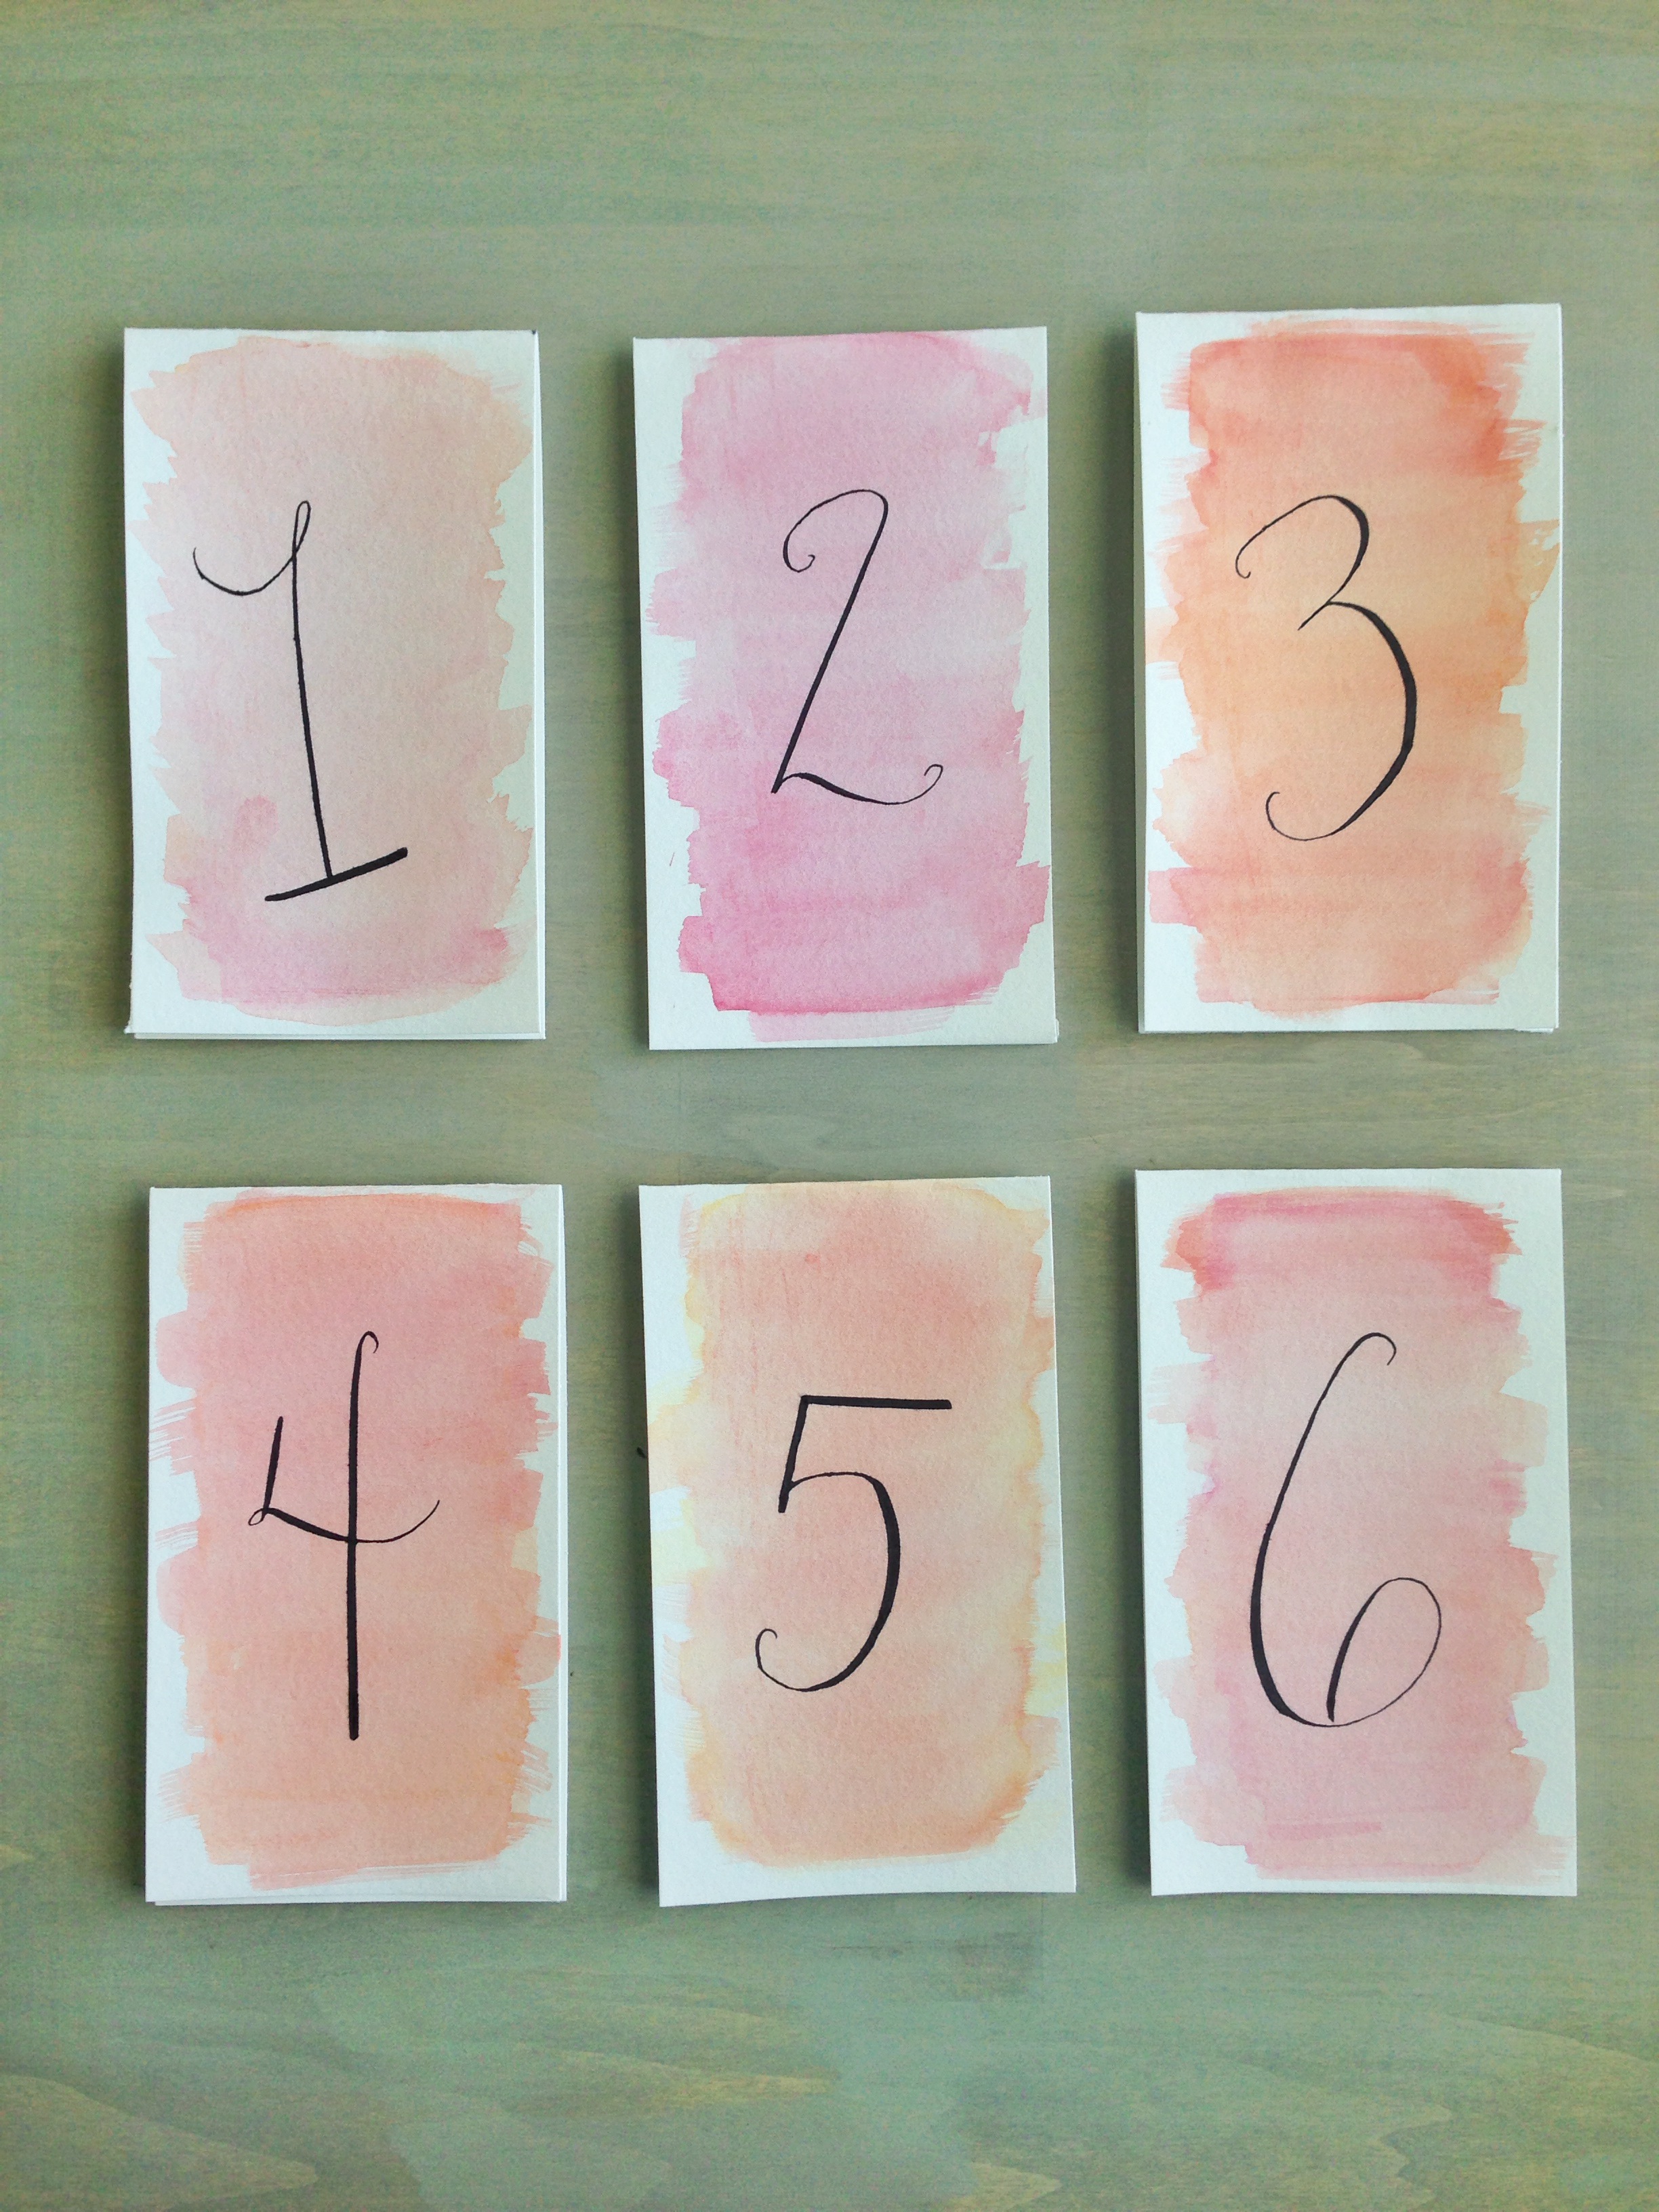
Watercolor table numbers for Mia & Alex's Daniel Stowe Botanical Garden wedding

IMG_3922_20140416_104154.jpg
IMG_4107_20140419_191051-e1400634811509.jpg

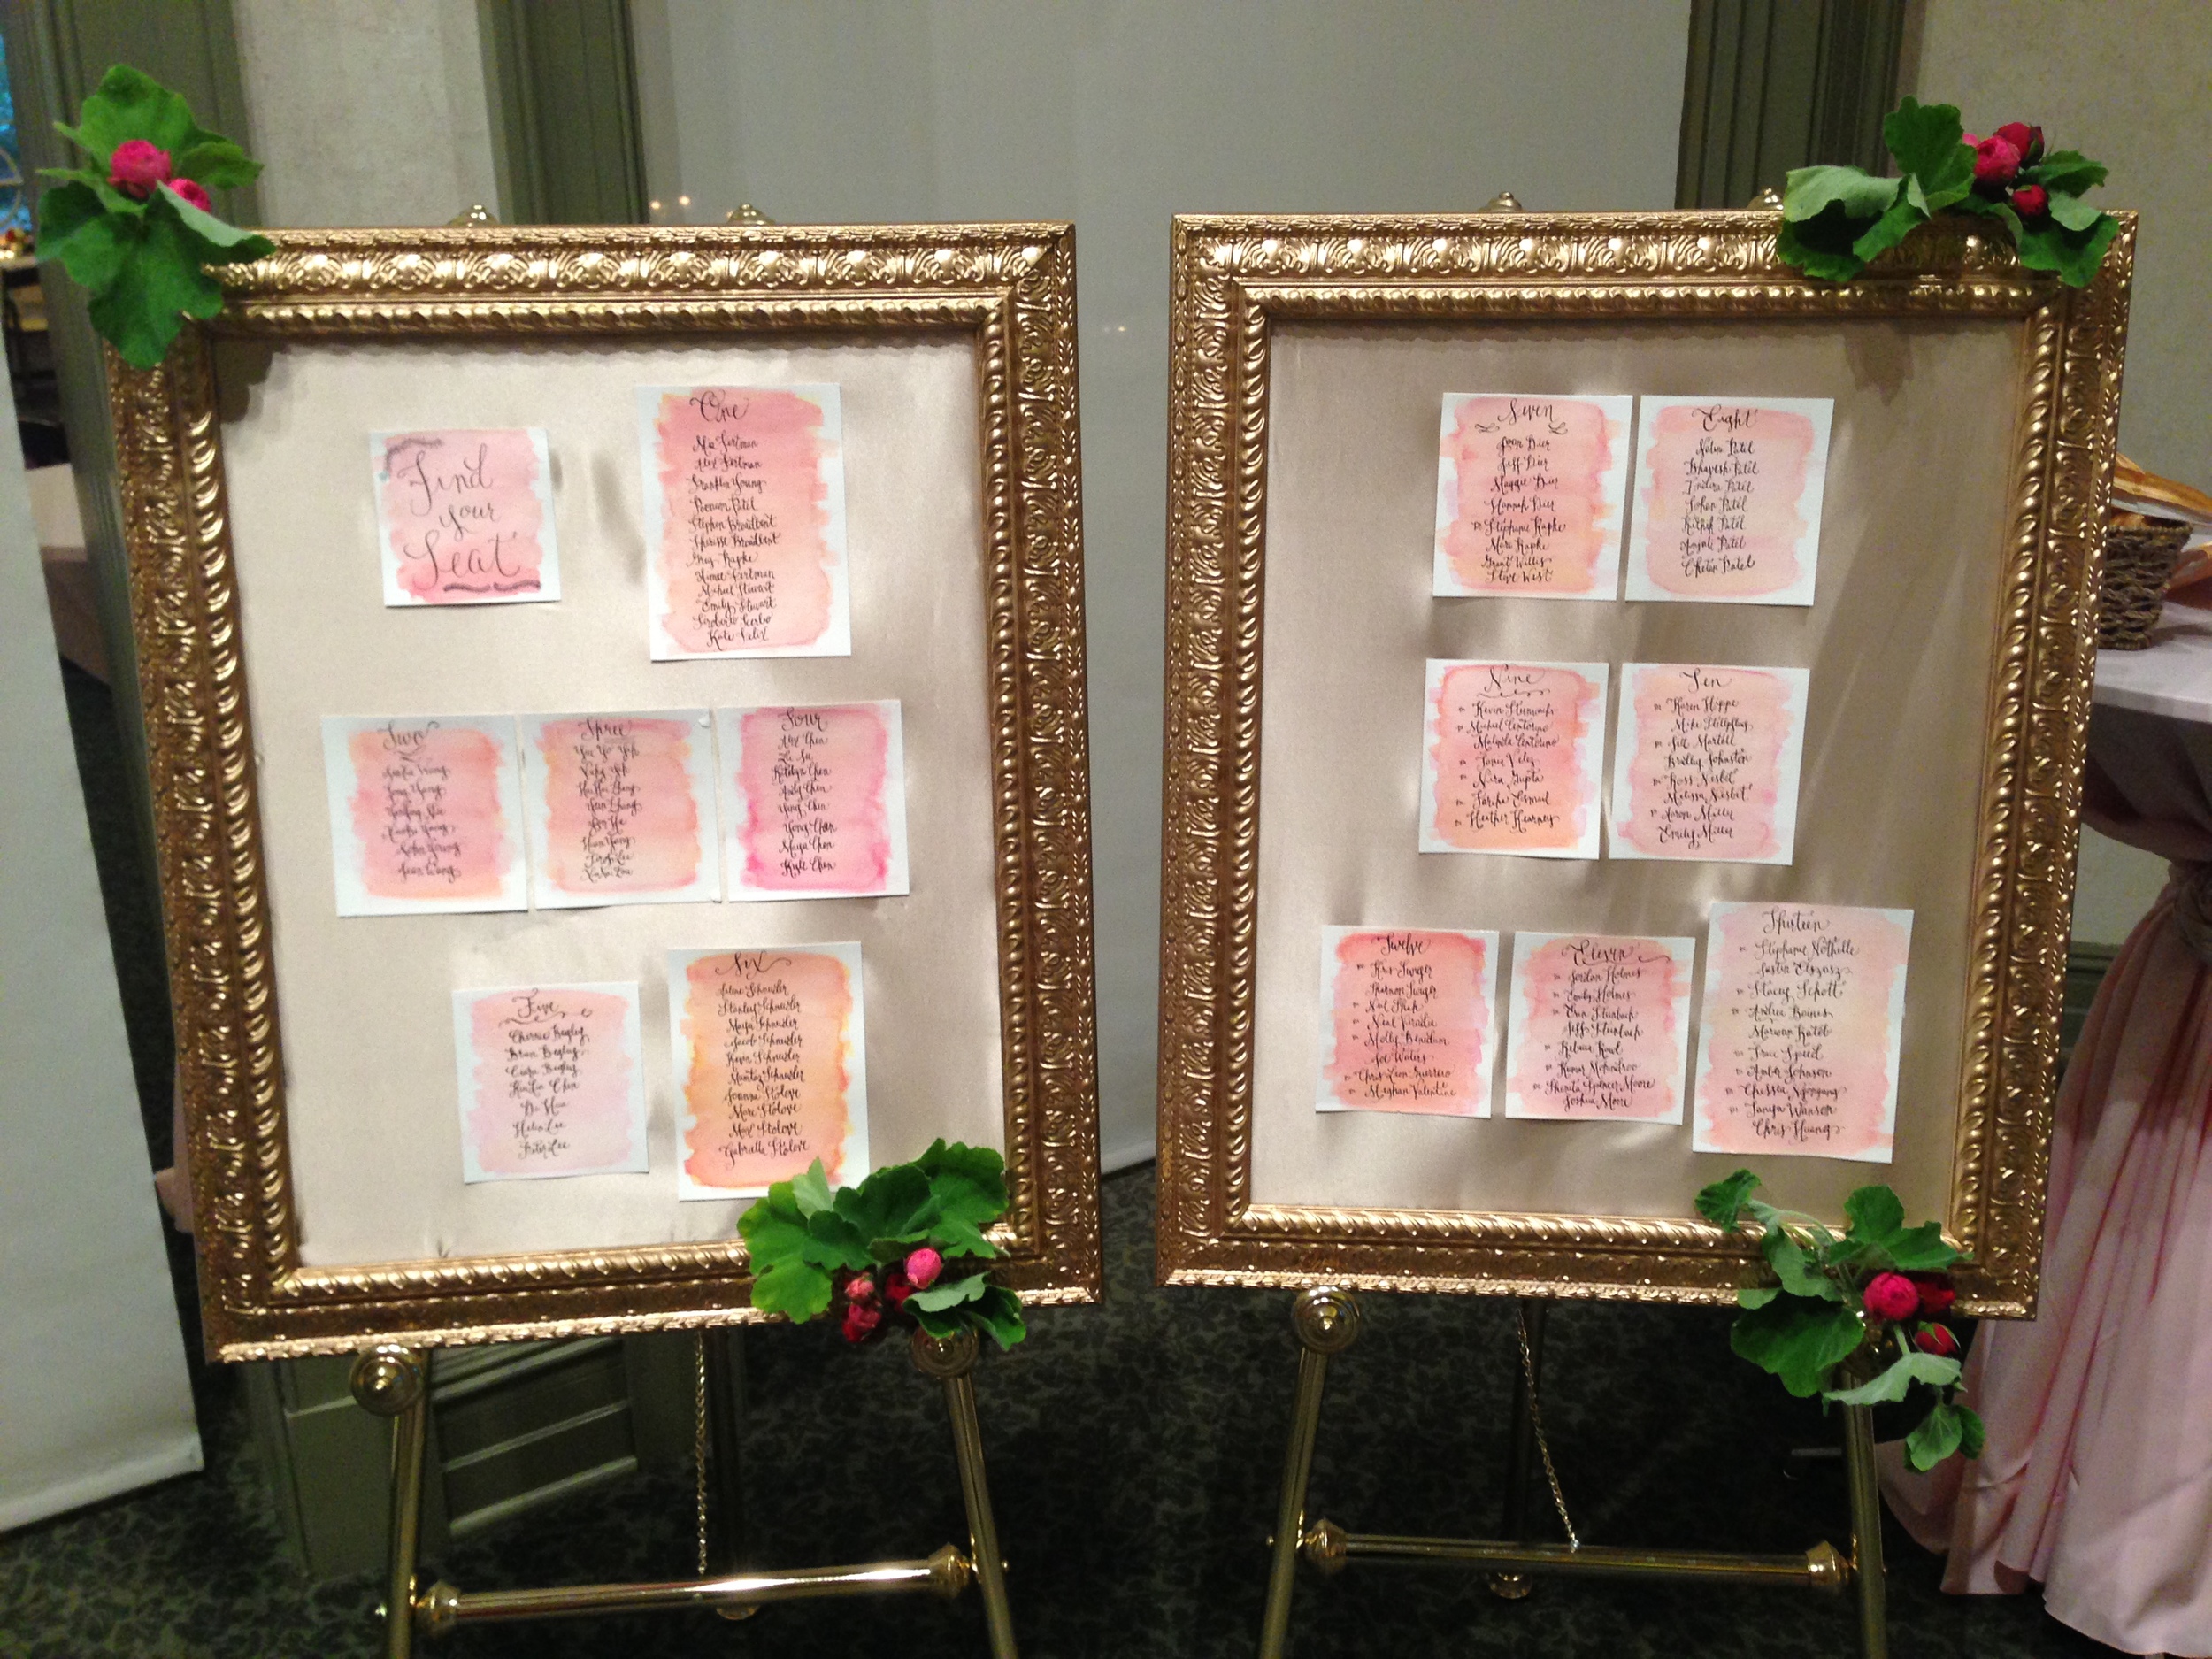
Watercolor seating chart for Mia & Alex's Daniel Stowe Botanical Garden wedding

IMG_4114_20140419_191349.jpg

Chuppah and organza draping for Mindy & Brett's Biltmore wedding (Okay, confession: I can't take all the credit for this one. My amazing husband actually built this chuppah for two weddings this year, and has come to both weddings to help me assemble it on-site. So grateful to have such a supportive and super crafty husband!!) 

IMG_5666_20140503_175459.jpg

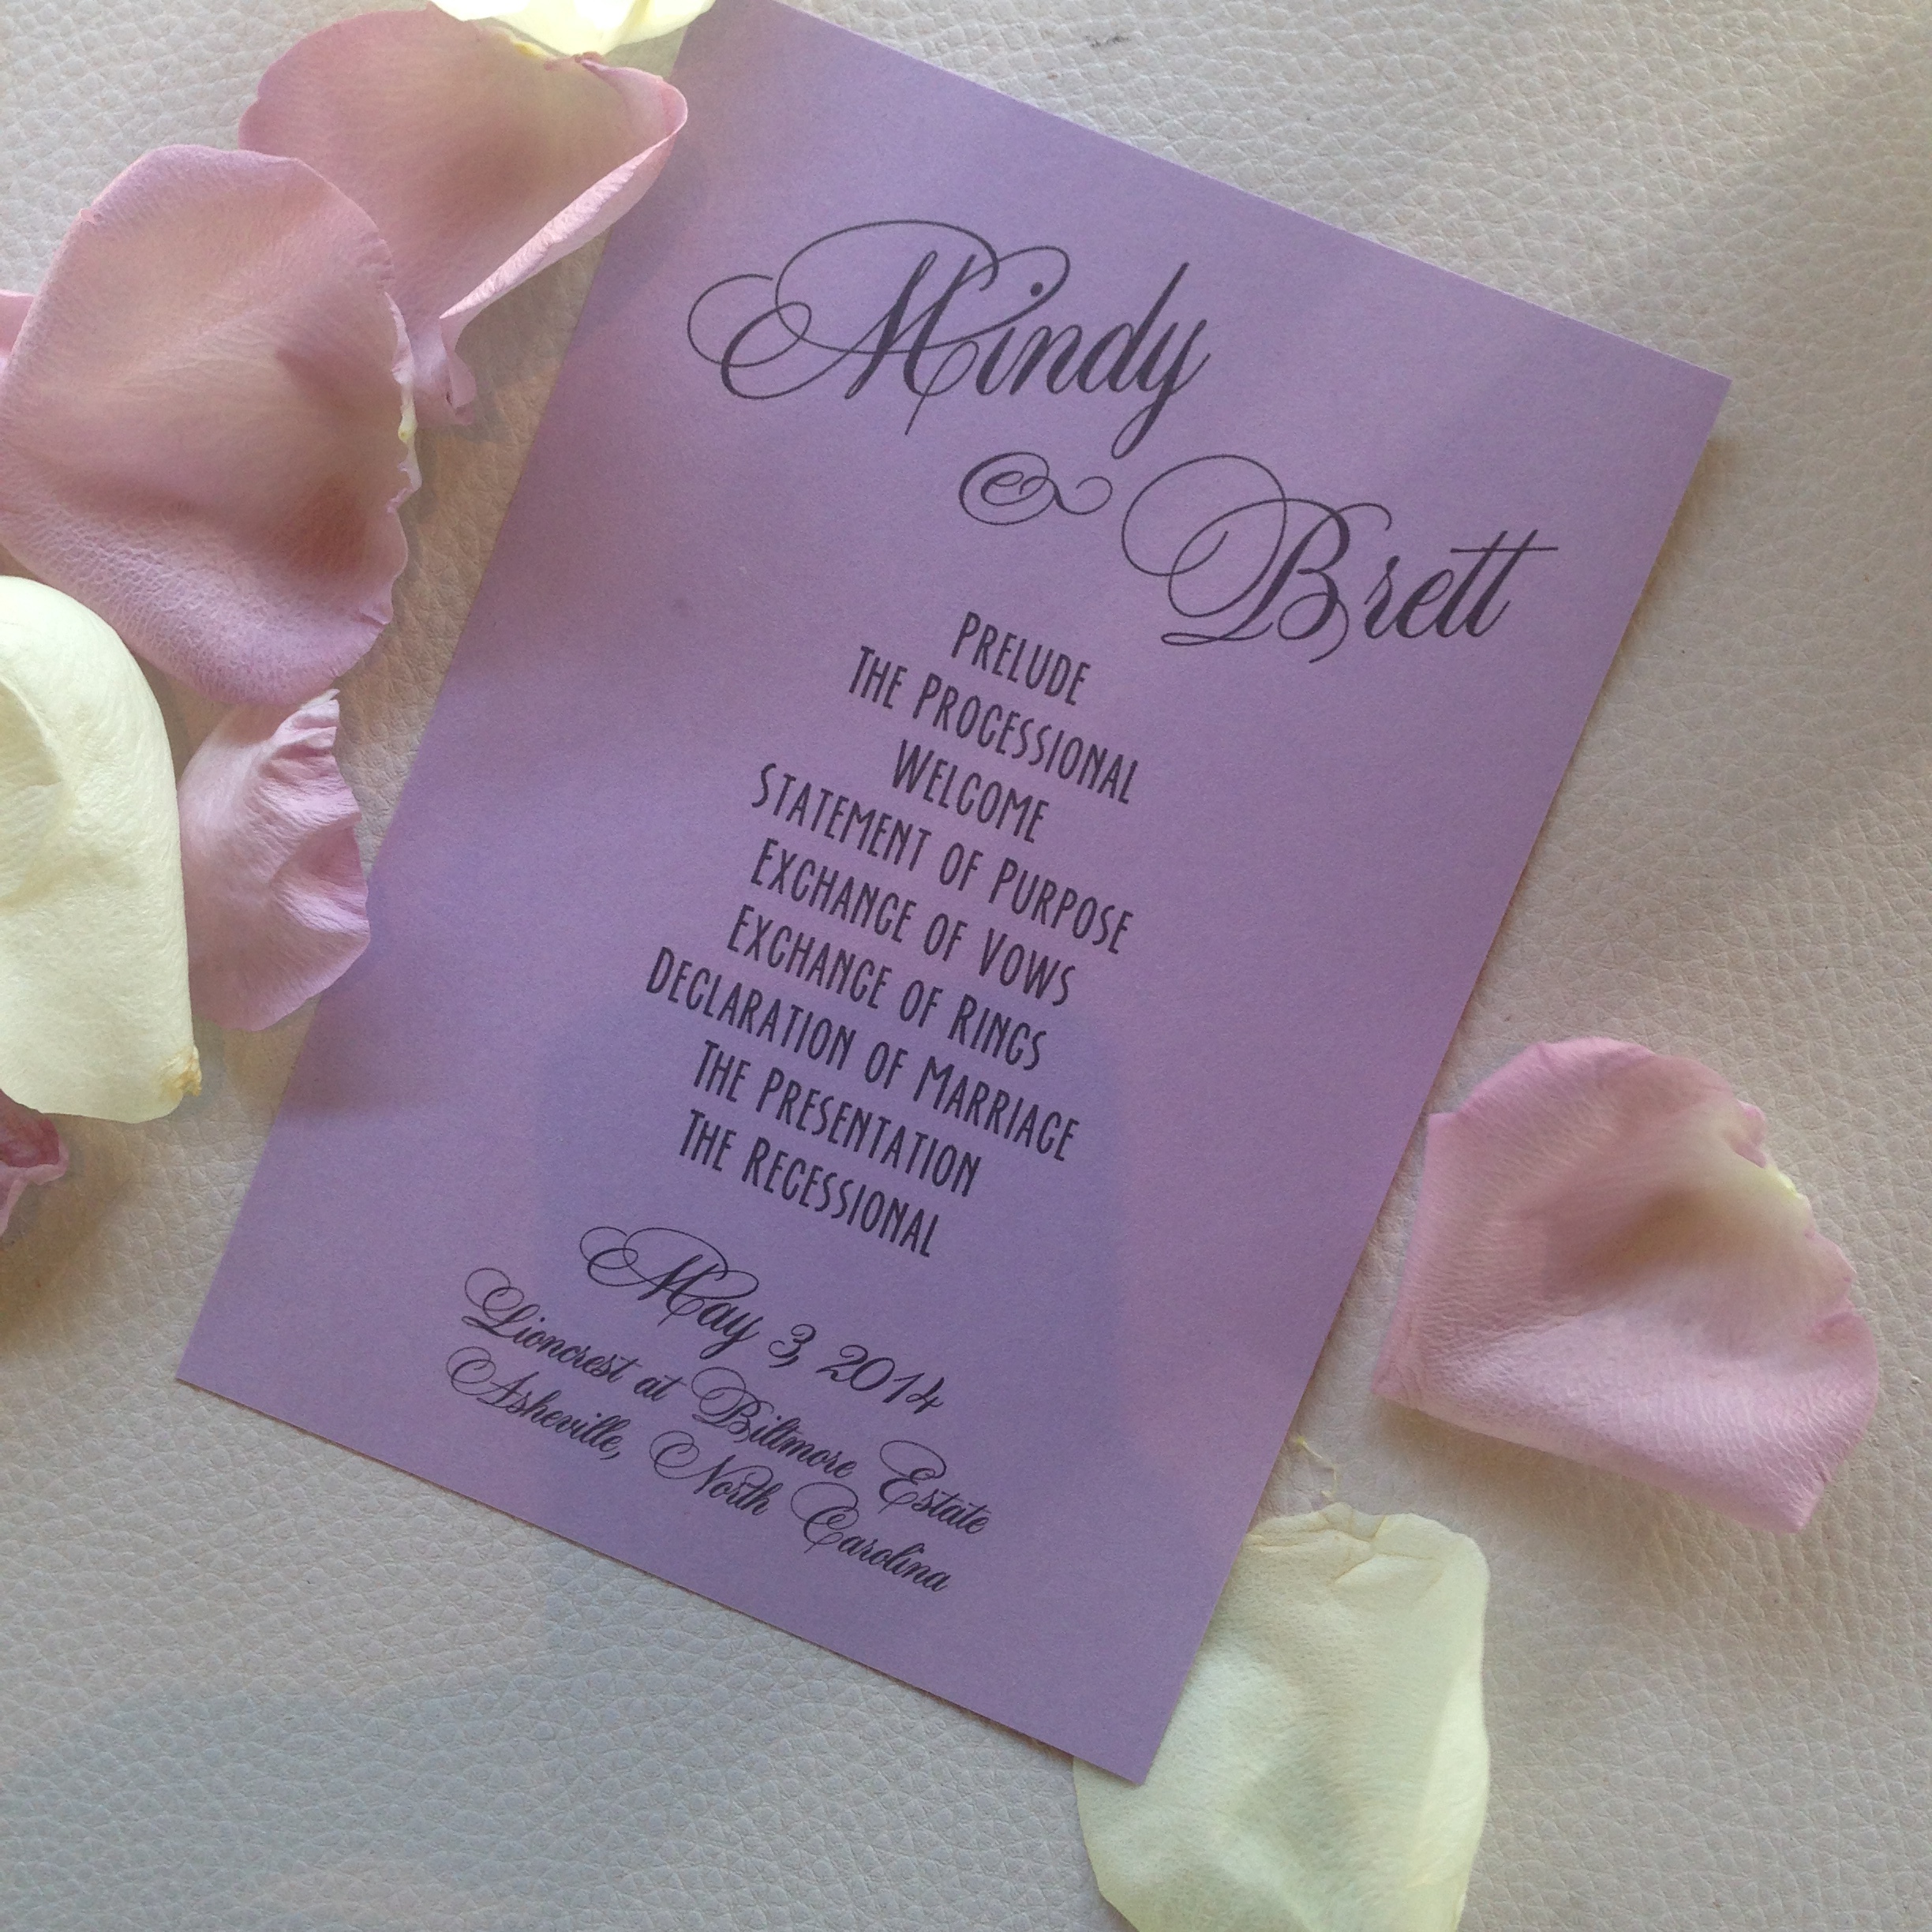
Ceremony programs for Mindy & Brett's Biltmore wedding

IMG_5663_20140503_173438.jpg

Calligraphy favor tags for Mindy & Brett's Biltmore wedding

IMG_5966_20140503_221003.jpg

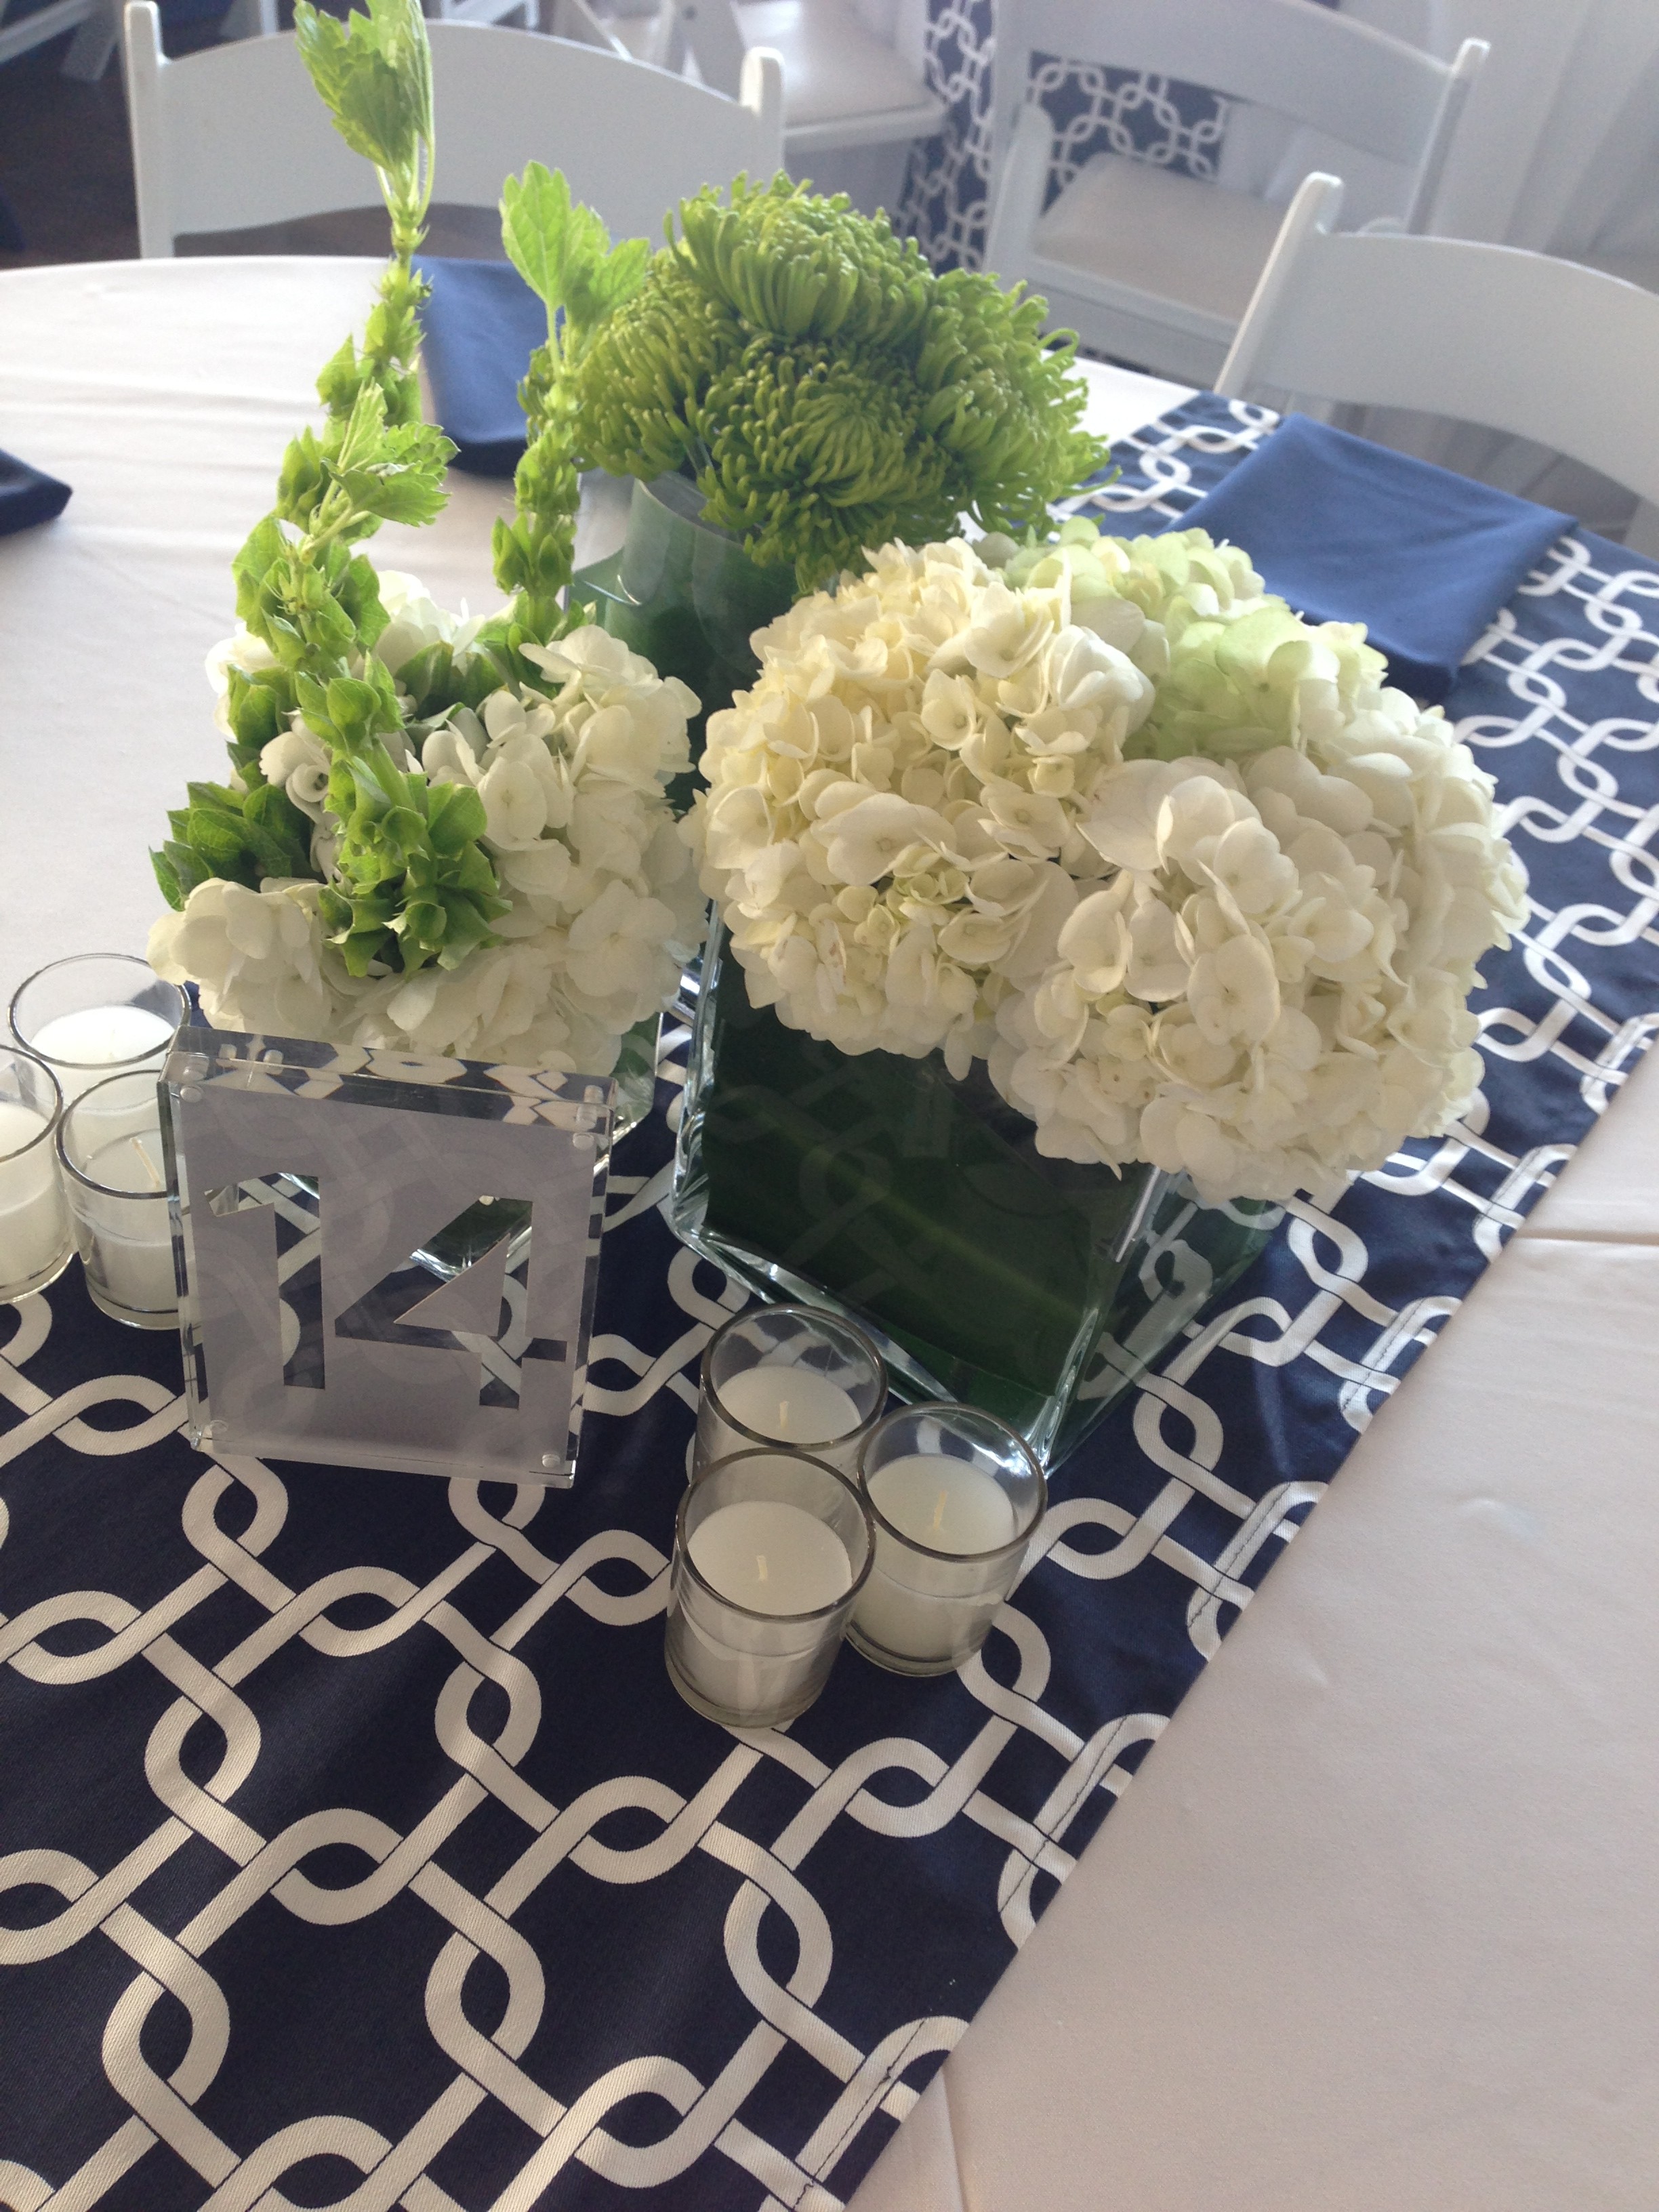
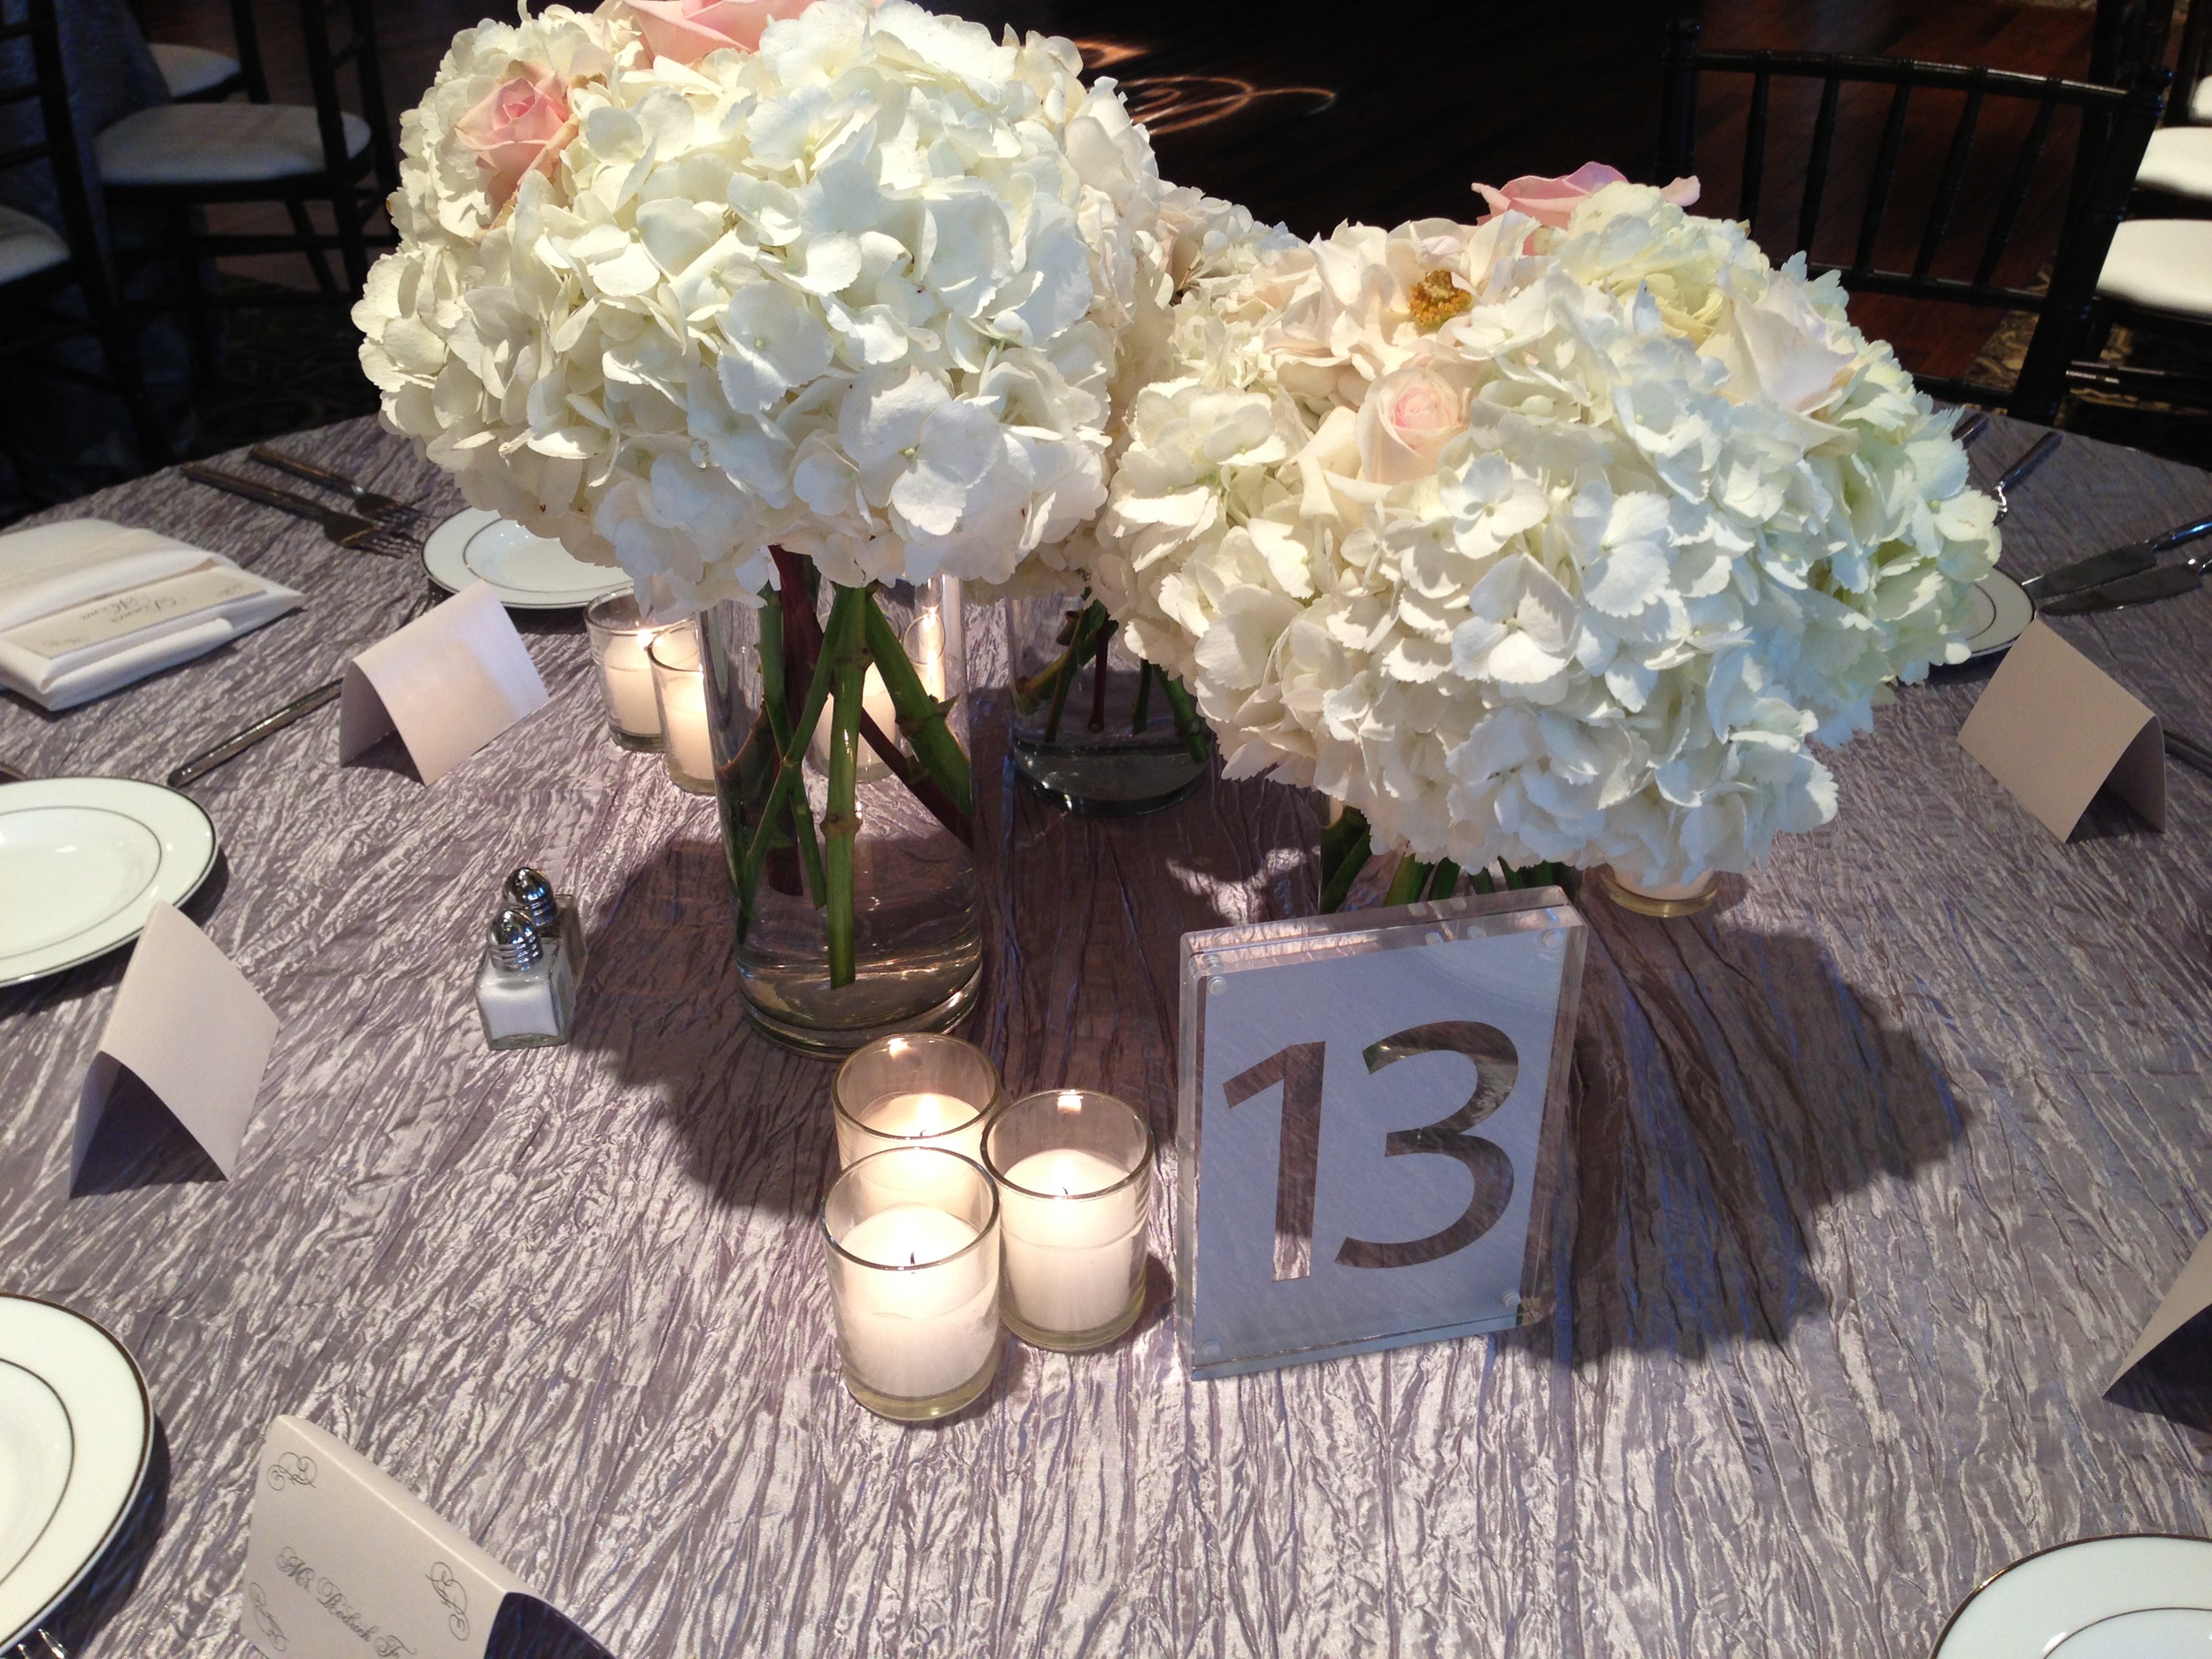
Acrylic table numbers for Whitley & Darian's Brakefield at Riverwalk wedding

IMG_3113_20140322_181059.jpg

"Here Comes The Bride" sign for Veronica & Chip's Mint Museum Uptown wedding

IMG_4567_20140426_164007-e1400634778853.jpg

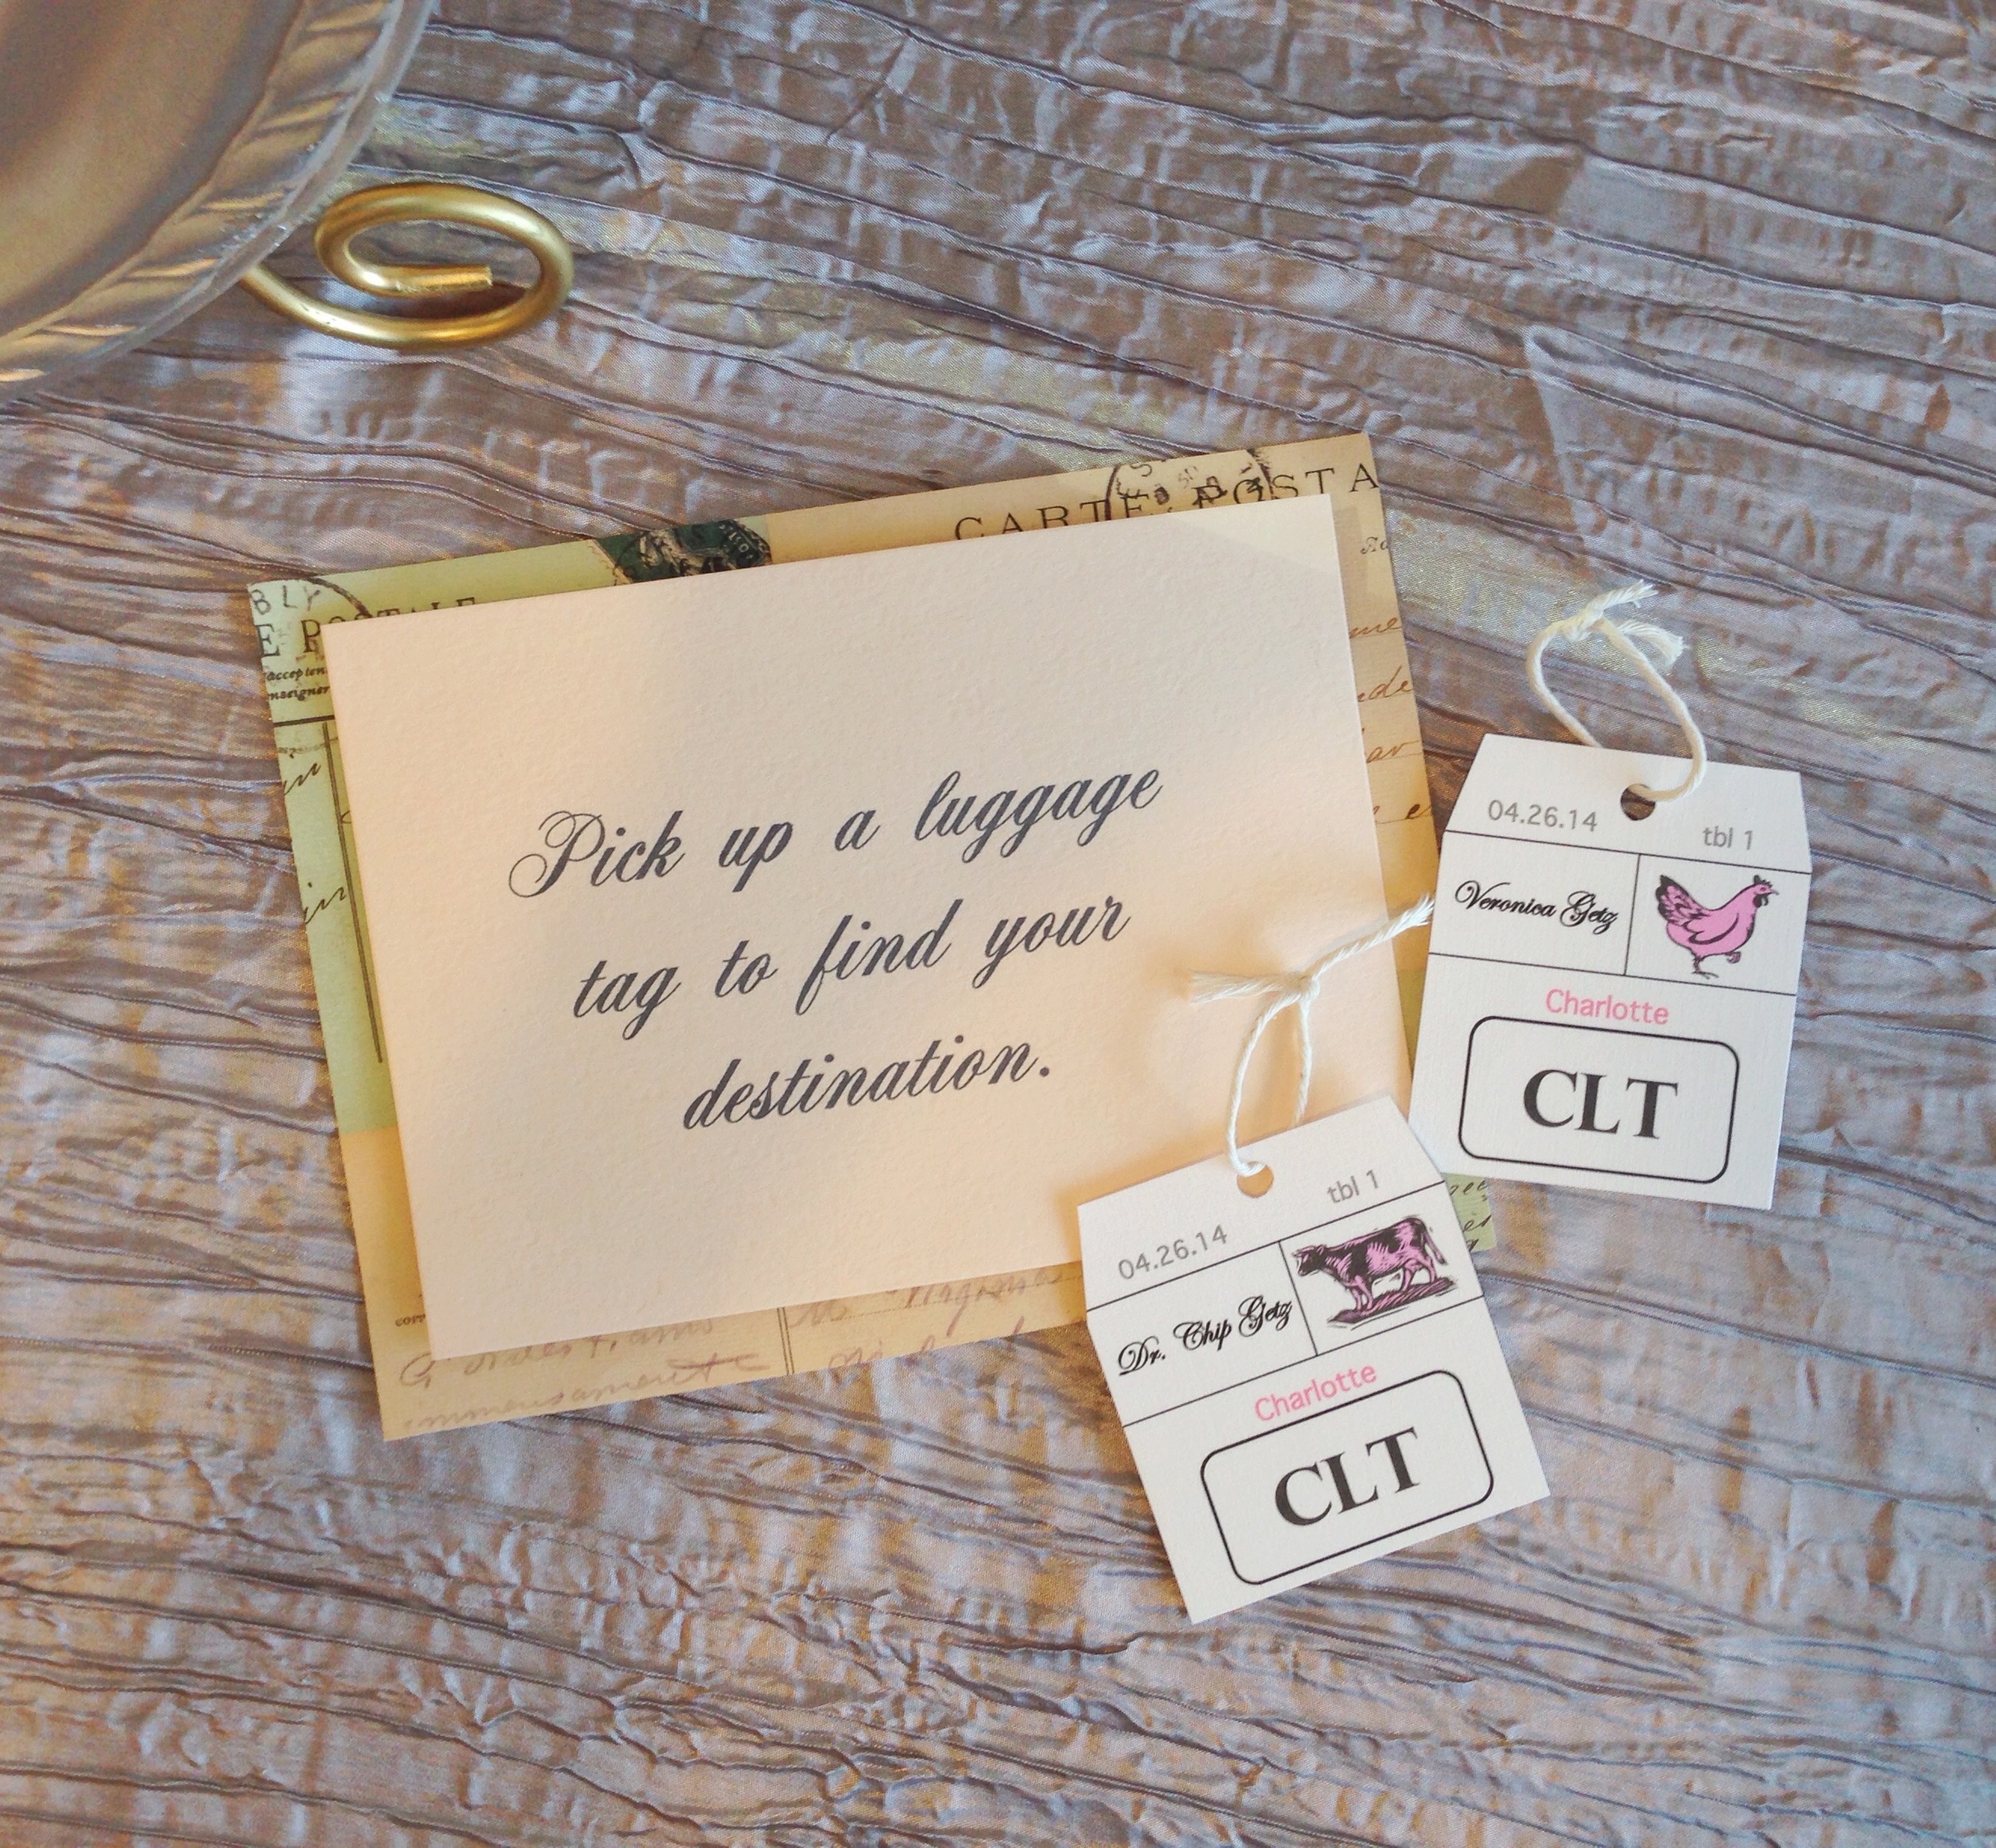
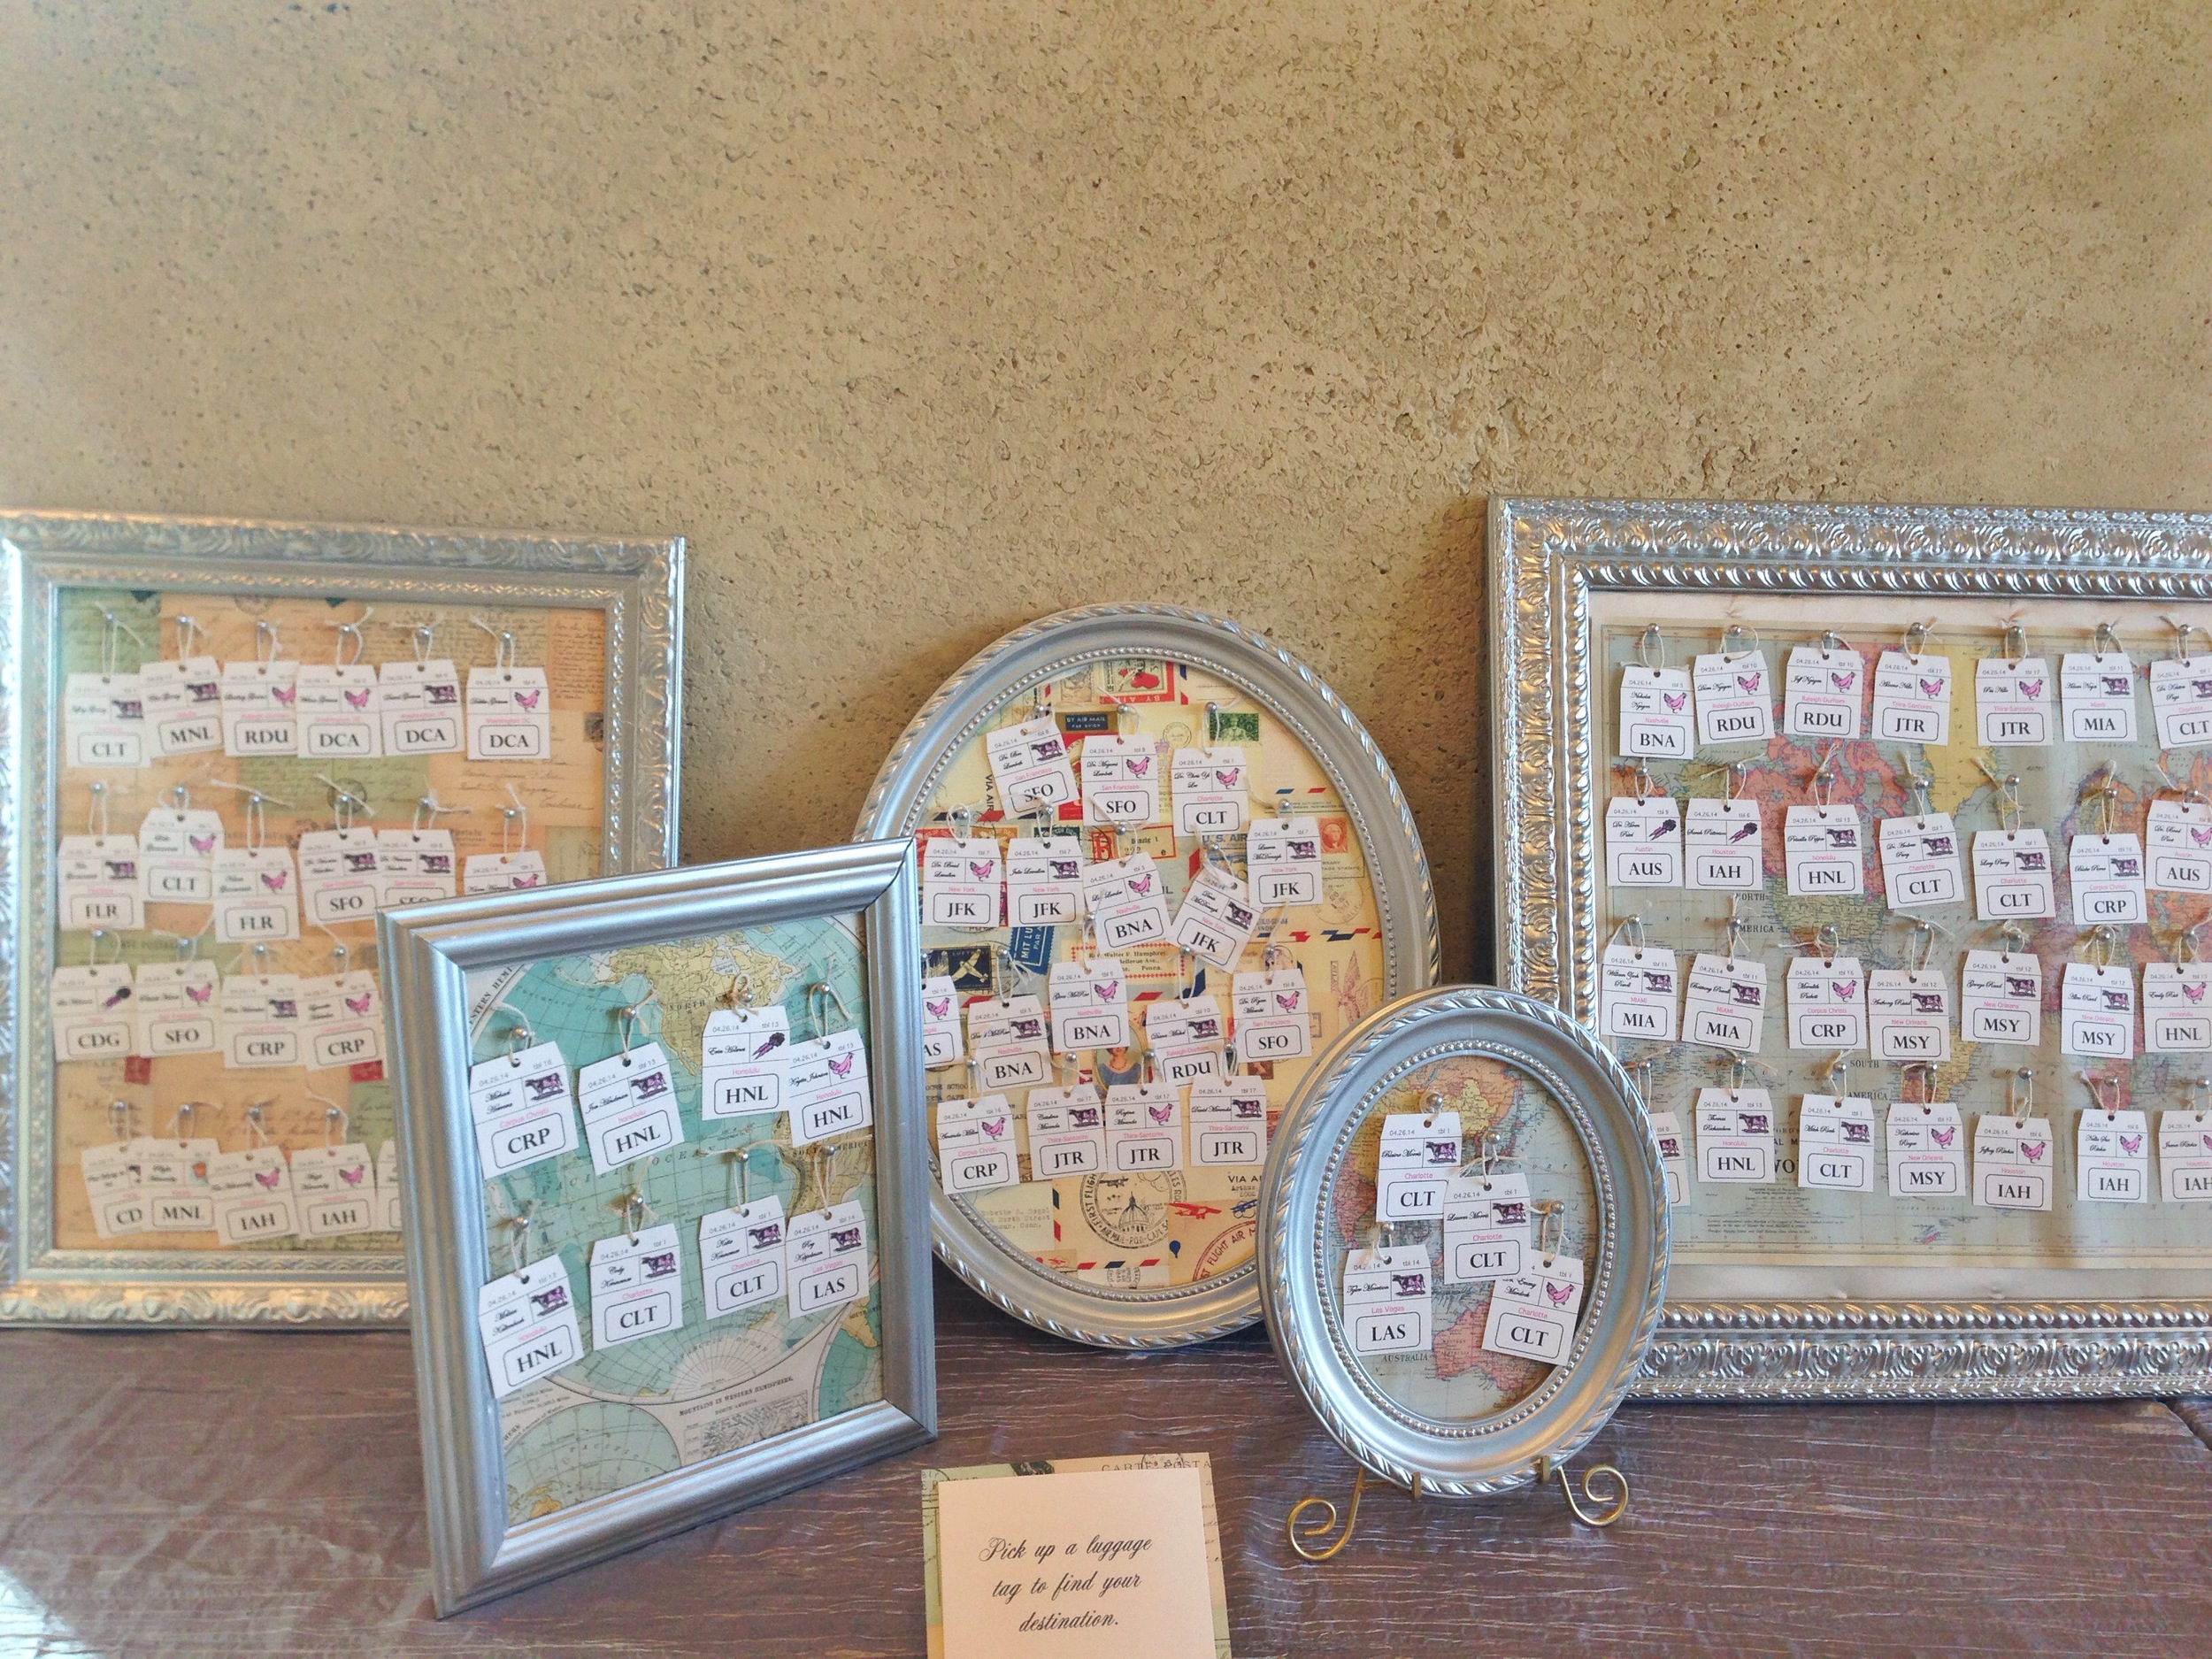
Travel-themed escort card display for Veronica & Chip's Mint Museum Uptown wedding

IMG_5017_20140426_210838.jpg
IMG_5014_20140426_205933.jpg
IMG_5015_20140426_210533.jpg

Travel-themed table numbers for Veronica & Chip's Mint Museum Uptown wedding

IMG_5012_20140426_204930.jpg

Citrus-themed escort cards for Taylor & Kyle's Byron's South End wedding

IMG_6787_20140517_181224-e1400634746550.jpg

I hate to even share all of these terrible iPhone quality photos, but I'm really proud of the little details that leave my office each weekend to make their way to the amazing brides and grooms wedding days. I'm honored to have the opportunity to be creative and give priority to the special touches of a wedding day!  And believe me when I say that each has been an absolute labor of love.  But it makes me so happy to see my brides and grooms smile with excitement over these details they never expected!

XO,
A.